Contents
Introduction
Hey there, plant lovers! If you’ve got succulents or cacti hanging out in your apartment, you might have heard that repotting is something you need to do from time to time. But what’s the big deal? Why should you bother with repotting when your plant seems to be doing just fine? Well, let’s dive into why repotting isn’t just another chore—it’s actually a game-changer for keeping your plants happy and healthy.
Repotting might sound a bit daunting, but it’s simply about moving your plant into a new pot and fresh soil. Think of it like giving your plant a new home that’s better suited to its needs. Just like you might outgrow your old room and need a bigger space, your succulents and cacti can outgrow their pots too. When this happens, their roots can become cramped and tangled, which can slow down their growth and even lead to problems like root rot.
The right time to repot is usually when your plant is actively growing, which for most succulents and cacti is during the spring and summer. It’s like their prime time to get a new start. Choosing the right pot and soil mix is also crucial—it’s like picking out the perfect new apartment for your plant.
In this guide, we’re going to cover everything you need to know about repotting your succulents and cacti. We’ll walk you through the signs that it’s time for a repot, how to choose the right pot and soil, and step-by-step instructions on how to repot your plants without a hitch. Plus, we’ll give you some tips on post-repotting care to make sure your plants settle into their new digs smoothly.
So, grab your gardening gloves, and let’s get those plants set up for a fresh start! Repotting might seem like a small task, but it’s a big step towards keeping your indoor garden thriving.
Understanding the Need to Repot
Alright, let’s get into why your succulent or cactus might be waving a little flag saying, “Help, I need a new pot!” It’s super important to understand the signs that your plant needs repotting because it helps you keep your green buddies in tip-top shape. So, what are the telltale signs that it’s time to switch things up?

Root Bound First up, if you notice roots sneaking out of the drainage holes at the bottom of the pot or curling around the sides, it’s a clear sign that your plant’s roots are getting too crowded. Imagine being stuck in a cramped elevator with no way out—that’s how your plant feels when its roots are bound up like that. It’s time for a bigger pot to give those roots some room to stretch out and grow.
Slow Growth Is your plant looking a bit sluggish, even though you’re giving it all the right care? Slow or stalled growth can mean it’s outgrown its current pot and is struggling to find enough space or nutrients. It’s like trying to run a marathon in a pair of tight shoes—your plant just can’t perform at its best when it’s cramped.
Soil Degradation Take a good look at the soil in your plant’s pot. If it’s become hard and compacted, or if it’s just not holding moisture well, it might be time for a change. Over time, the soil can lose its nutrients and become less effective at supporting your plant’s growth. Fresh soil will give your plant a new lease on life and help it thrive.
Overwatering Issues If you’ve noticed your plant suffering from root rot or other signs of overwatering, like soggy soil or a musty smell, it might be time for a repot. Poor drainage can lead to these issues, and repotting with a well-draining soil mix can help prevent future problems.
Ideal Repotting Frequency Generally, you should think about repotting your succulents and cacti every 1-2 years. But don’t just set a calendar reminder—pay attention to your plant’s signals. Fast-growing varieties might need repotting more often, while slower growers can go longer between moves.
Understanding these signs will help you keep your succulents and cacti happy and healthy. Repotting might seem like a hassle, but it’s a key part of plant care that ensures your green friends continue to flourish. Keep an eye out for these clues, and you’ll be able to give your plants the fresh start they need!
Choosing the Right Time to Repot
Alright, so you know why repotting is important and what signs to look for. But when exactly is the best time to give your succulent or cactus a new pot? Timing is everything, and getting it right can make a big difference in how smoothly the transition goes for your plant. Let’s break it down!
Best Time of Year
Spring and Summer: This is prime time for most succulents and cacti. Just like how people like to move during the warmer months, plants also thrive during their active growing season. Spring and summer are when your plants are full of energy and ready to grow, making it the perfect window for repotting. It’s like moving into a new house when you’re in the best shape to enjoy it!
Avoiding Winter: Winter is generally a time when plants slow down and rest, so repotting during these colder months can stress them out. It’s like trying to move during a snowstorm—it’s just not ideal. If you can, hold off on repotting until the weather warms up.
Plant Growth Cycle
Active Growing Season: Look for signs that your plant is actively growing—like new leaves or shoots. This is when your plant is at its strongest and most adaptable, making it a great time to repot. If your plant is in a growth spurt, it’s more likely to bounce back quickly from the change.
Understanding your plant’s growth cycle and picking the right time for repotting can make all the difference. By repotting during the right season and when your plant is actively growing, you give it the best chance to settle into its new home smoothly and continue thriving. So, keep an eye on the calendar and your plant’s growth, and you’ll have a successful repotting experience!
Selecting the Right Pot and Soil
Now that you know when it’s time to repot, let’s talk about picking the perfect pot and soil for your succulent or cactus. This part is crucial because the right pot and soil can make a big difference in how well your plant adjusts to its new home. Let’s dive into the details!

Choosing the Pot
Size Matters: When selecting a new pot, aim for one that’s just a little bigger than the old one—about 1-2 inches larger in diameter. Think of it like upgrading to a slightly larger apartment. You don’t want to go too big because it can lead to excess moisture around the roots, which can be a problem. A pot that’s too large is like giving your plant too much space, making it harder for the roots to absorb water and nutrients efficiently.
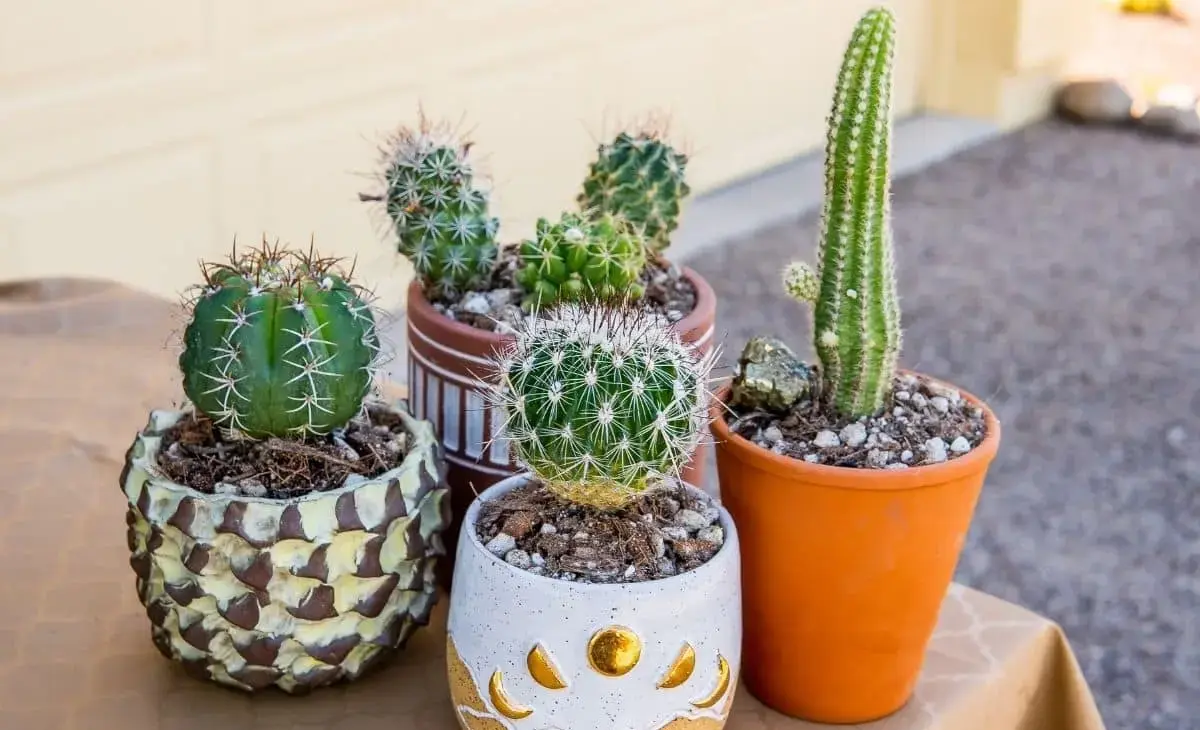
Material Options: Pots come in various materials, with terracotta and plastic being popular choices. Terracotta pots are great because they’re porous, which helps with air circulation and moisture control. On the flip side, plastic pots are lighter and retain moisture better, which can be beneficial in a dry environment. Choose based on what suits your plant’s needs and your style preferences.
Drainage Holes: This is a must-have! Proper drainage is essential to prevent water from sitting at the bottom of the pot, which can lead to root rot. Make sure your new pot has drainage holes to ensure excess water can escape and your plant’s roots stay healthy.
Choosing the Right Soil
Cactus and Succulent Soil Mix: Opt for a soil mix specifically designed for cacti and succulents. These mixes are formulated to provide excellent drainage, which is key for preventing root rot. They often contain a mix of sand, perlite, and other materials that help the soil drain quickly and avoid excess moisture.
DIY Soil Mix: If you’re into DIY projects, you can create your own soil mix at home. Combine potting soil with sand and perlite to achieve a well-draining mix. This way, you can tailor the soil to your plant’s specific needs and ensure it gets the best possible environment to thrive.
Choosing the right pot and soil for your succulent or cactus is like setting up a comfy new home for your plant. The right pot size, material, and soil mix will help your plant adjust smoothly and keep it healthy for years to come. So, pick wisely and give your plant the perfect new setup to flourish in!
How to Repot Your Succulent or Cactus
Alright, you’ve picked the perfect time, pot, and soil for your succulent or cactus. Now it’s time to get your hands dirty and actually repot your plant! Don’t worry—it’s easier than it sounds, and I’ll walk you through each step to make sure it goes smoothly.
Preparing for Repotting
Gathering Supplies: Before you get started, make sure you have everything you need within arm’s reach. You’ll need a new pot, fresh soil mix, gardening gloves, and a small trowel or spoon. Having everything ready will make the process much smoother and less stressful for both you and your plant.
Watering Beforehand: Give your plant a light watering a day or two before repotting. This helps loosen the soil and makes it easier to remove the plant from its old pot. It’s like giving your plant a little hydration boost to make the move less stressful.
Removing the Plant
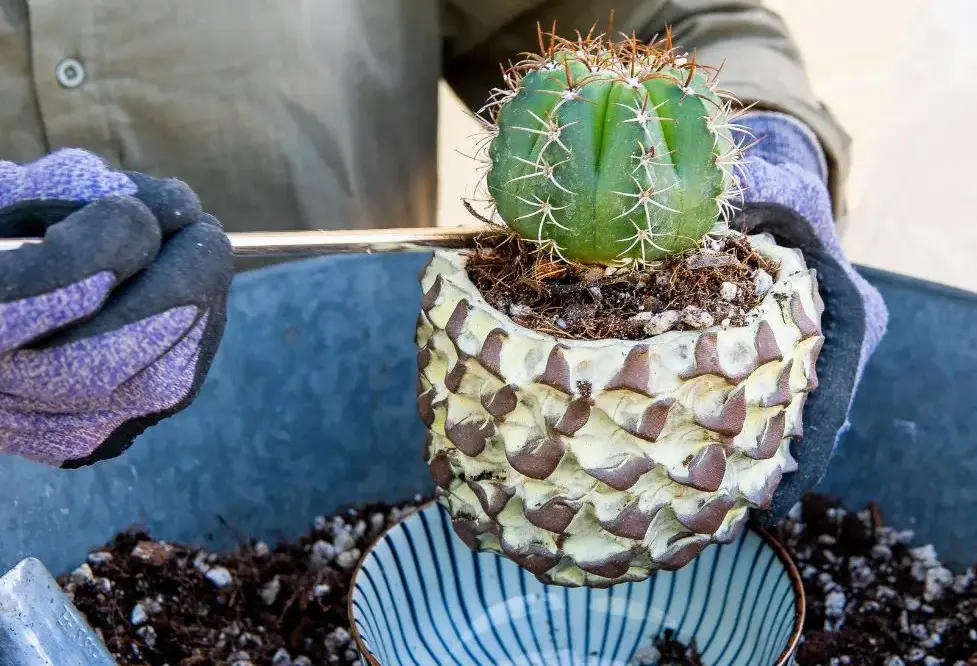
Gently Removing the Plant: Carefully take your plant out of its current pot. Gently squeeze the sides of the pot if it’s a plastic one, or tap it lightly if it’s a terracotta pot. Be sure to support the plant from the base to avoid damaging the stems or leaves. It’s like gently easing your plant out of its old home.
Inspecting the Roots: Once the plant is out, take a good look at the roots. If you see any that are mushy or dark, trim them off with clean, sharp scissors. Healthy roots should be white or light tan. This step helps prevent potential problems like root rot and ensures your plant starts fresh in its new pot.
Potting the Plant
Adding Soil to New Pot: Place a layer of fresh soil mix in the bottom of the new pot. This creates a nice base for your plant to sit on. You want enough soil to support the plant but not so much that it’s sitting too high or too low in the pot.
Positioning the Plant: Place your plant in the center of the pot and add more soil around the edges. Gently press the soil down as you go to remove any air pockets and ensure the plant is stable. Make sure the plant is at the same depth it was in the old pot—too deep or too shallow can stress the plant.
Watering After Repotting: Give your plant a light watering after repotting, just enough to moisten the soil without soaking it. Overwatering can lead to problems, so be cautious. This initial watering helps settle the soil around the roots and reduces transplant shock.
Repotting your succulent or cactus might seem like a big task, but it’s a straightforward process when broken down into steps. By carefully removing the plant, preparing the new pot, and giving it proper care, you’re setting your plant up for a happy and healthy future in its new home. So roll up those sleeves and get repotting—your plant will thank you for it!
Post-Repotting Care
Great job on getting your succulent or cactus into its new pot! Now that the hard part is over, it’s time to focus on helping your plant adjust and settle into its new home. Post-repotting care is crucial for ensuring your plant thrives and doesn’t experience unnecessary stress. Here’s how to keep things on track after repotting.

Adjusting Light and Temperature
Bright, Indirect Light: After repotting, your plant will appreciate a bit of gentle, bright light. Avoid placing it in direct sunlight right away, as it might be a bit stressed from the move. A spot with bright, indirect light is ideal. It’s like giving your plant a cozy, well-lit room where it can relax and recover.
Temperature Management: Keep your plant away from extreme temperatures, whether it’s too hot or too cold. A stable, moderate temperature is best to help your plant adjust without added stress. Think of it like keeping your home at a comfortable temperature for a guest who’s just moved in.
Watering Routine
Initial Watering: After repotting, give your plant a light watering to help it settle into its new soil. Be careful not to overdo it—just enough to moisten the soil without making it soggy. This helps the roots make contact with the fresh soil and reduces transplant shock.
Adjusting for New Soil: With the new soil mix, you might need to tweak your watering routine. The fresh soil might retain moisture differently than the old mix, so keep an eye on the plant and adjust your watering schedule as needed. This is like figuring out a new watering schedule for a new plant environment.
Monitoring Plant Health
Observing for Stress: Keep an eye on your plant for any signs of stress after repotting. Wilting, yellowing leaves, or other unusual changes might indicate that the plant is having a hard time adjusting. If you spot any issues, make sure to check the soil moisture and lighting conditions to see if adjustments are needed.
Routine Check-Ups: Regularly check your plant for pests, diseases, or other health issues. A quick inspection once a week can help catch any problems early and keep your plant in top shape. It’s like giving your plant a little health check to ensure everything’s going smoothly.
Taking good care of your plant after repotting helps it recover quickly and thrive in its new pot. By providing the right light, temperature, and watering routine, and keeping an eye on its health, you’ll give your succulent or cactus the best chance to adjust and grow beautifully. Happy repotting!
Conclusion
Congratulations on successfully repotting your succulent or cactus! You’ve tackled a crucial step in keeping your indoor garden healthy and vibrant. Let’s recap why repotting is so important and how it benefits your plant, and give you a little nudge to keep up the great work.
Recap: Repotting isn’t just about giving your plant a new pot; it’s about ensuring its long-term health and growth. By recognizing the signs that it’s time to repot—like root binding, slow growth, or soil issues—you’ve taken a proactive step to support your plant’s well-being. Choosing the right time, pot, and soil mix ensures a smooth transition and sets your plant up for success.
Encouragement: Remember, repotting might seem like a small task, but it’s a big win for your plant. With proper care, your succulent or cactus will thrive in its new environment, growing healthier and stronger. It’s a simple way to make a big impact on your plant’s life, and it’s worth the effort to see your green buddy flourish.
Call to Action: Now that you’ve got the hang of repotting, take a moment to assess your other plants. Are they due for a repot? Keep an eye out for the signs we’ve discussed and make sure your entire indoor garden is getting the care it needs. Happy repotting, and here’s to a thriving, beautiful indoor garden!
With these tips and a little bit of effort, you’re well on your way to maintaining a lush and vibrant plant collection. Keep up the great work and enjoy the rewards of a well-cared-for garden!


