Contents
Introduction
Are your houseplants starting to look a bit cramped in their pots? It might be time for a little plant makeover! Repotting can seem like a daunting task, but it’s a crucial step in keeping your plants healthy and thriving. Think of it like upgrading your plant’s living space to a bigger, better home. Just like we outgrow our clothes and need new ones, plants outgrow their pots and need a bit more room to spread their roots.
So why should you care about repotting? Well, over time, plants can become root-bound, meaning their roots are tangled up and running out of space. This can slow their growth and lead to all sorts of problems like poor water absorption and nutrient deficiencies. Repotting gives your plants a fresh start, new soil to dig into, and more space to grow.
But wait—before you grab a new pot and start digging, there are a few things you should know to make the process as smooth and stress-free as possible for your green friends. We’re here to help you with easy-to-follow tips that will ensure your plants come through their repotting experience happy and healthy.
In this guide, we’ll walk you through everything from figuring out when your plant needs a new pot to the actual repotting process, and even how to care for your plant afterward. We’ll keep things simple and straightforward so you don’t have to worry about any complicated plant jargon.
Ready to give your plants the upgrade they deserve? Let’s dive into the world of repotting and make sure your plants get the smooth move they need!
Understanding the Right Time to Repot
So, how do you know when it’s time to give your plants a new pot? Recognizing the right moment for repotting is key to keeping your plants healthy and happy. Let’s break it down in simple terms.

Signs That Indicate Repotting is Needed
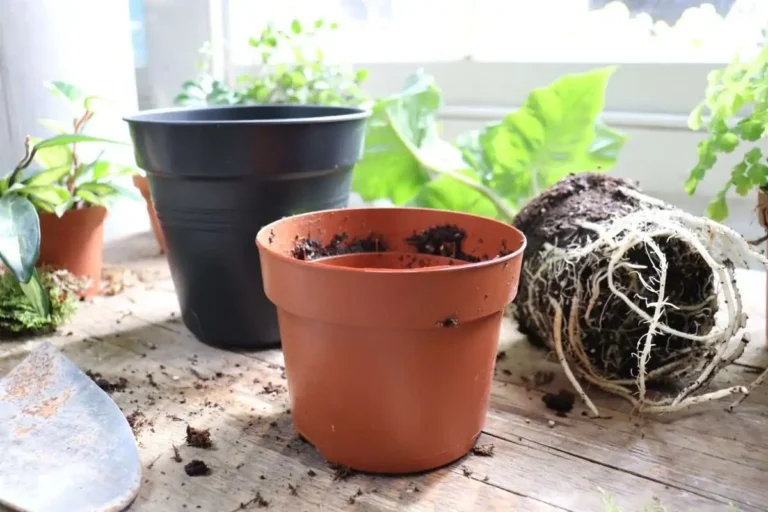
- Root Bound Indicators: Picture this: your plant’s roots are like a growing family that’s starting to outgrow their cozy home. If you see roots poking out of the drainage holes at the bottom of the pot or if the roots seem to be circling around the edges, it’s a big clue that your plant needs more space. When roots are cramped, they can’t absorb water and nutrients as effectively, which can slow down your plant’s growth.
- Growth Stagnation: Is your plant not growing as quickly as it used to? Maybe its leaves are turning yellow or it’s just not looking as lively as it once did. This could be a sign that it’s time for a bigger pot. When a plant is root-bound, it often struggles to grow, just like a kid who needs a larger room to play in.
- Soil Degradation: Over time, the soil in your plant’s pot can get tired. It might become compacted or lose its ability to drain water properly. If you notice that the soil isn’t soaking up water like it used to or if it looks really dry and crusty, it might be time to refresh both the soil and the pot.
Best Times to Repot
Timing is everything! Generally, the best time to repot most plants is during their active growing season. For many plants, this means spring or early summer. This is when they’re in full growth mode and can bounce back quickly from the stress of moving. However, if you’re dealing with a plant that has a specific growing season or unique needs, you might want to adjust accordingly.
By keeping an eye out for these signs and repotting at the right time, you’ll give your plants the best chance to thrive in their new home. It’s like giving them a fresh start with plenty of room to grow and flourish!
Preparing for the Repotting Process
Alright, you’ve decided it’s time to repot your plant—great choice! Now, let’s get everything ready so you can make this transition as smooth as possible for your green buddy. Think of this as prepping for a big move; a little organization goes a long way.
Choosing the Right Pot

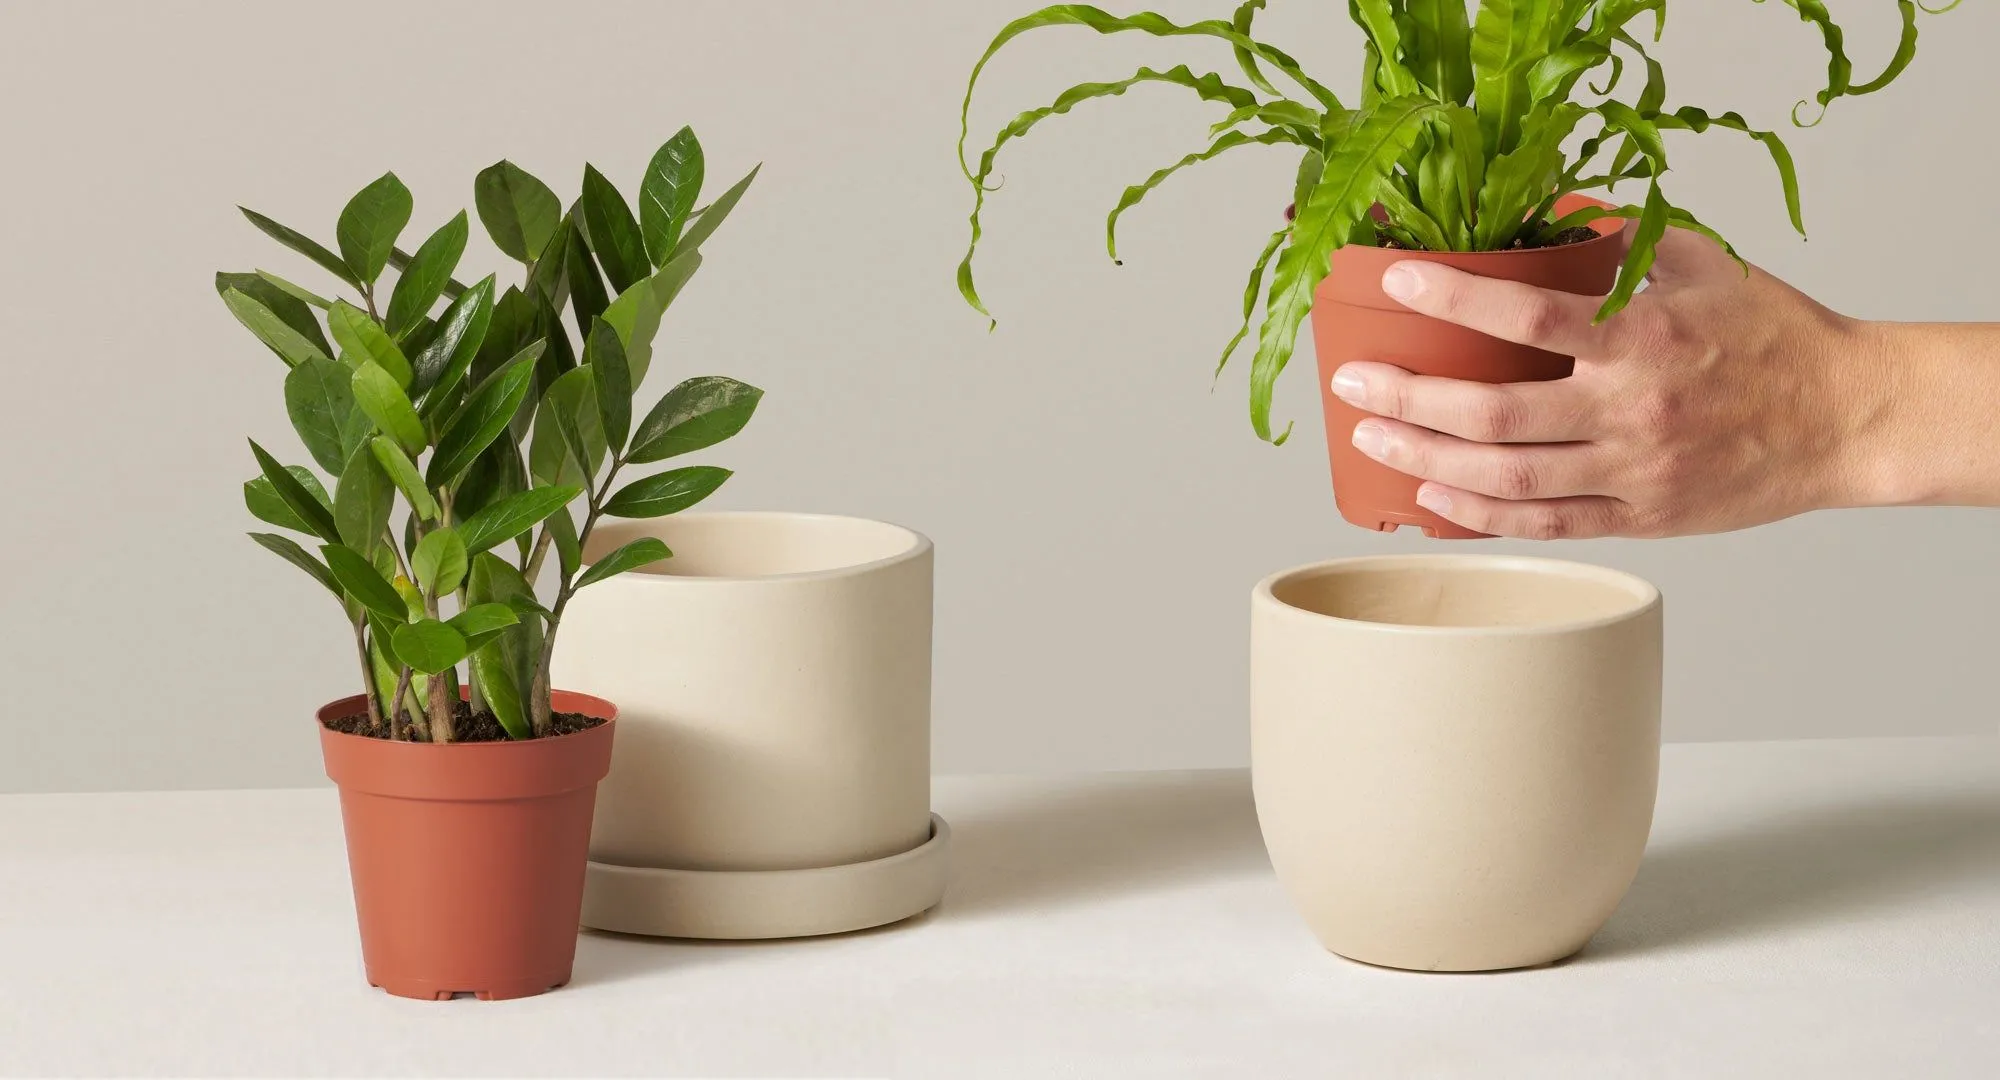
- Size Considerations: When it comes to picking a new pot, size matters! You want to choose a pot that’s just a bit larger than the current one. Imagine your plant’s roots need a bit more elbow room, but not a mansion. Too big of a pot can lead to problems like root rot, where the plant’s roots sit in soggy soil and start to rot. A pot that’s too small, on the other hand, will just be a repeat of the cramped conditions it’s already experiencing.
- Material Matters: Pots come in all sorts of materials like plastic, clay, and ceramic. Plastic pots are light and often cheaper, but they can heat up quickly in the sun. Clay pots are great for letting excess moisture evaporate, but they can dry out faster. Ceramic pots look beautiful and can be quite durable, but they’re heavier and can be pricier. Choose a material that fits your plant’s needs and your own style.
Selecting the Appropriate Soil
- Soil Type: Not all soil is created equal, and the type of soil you choose can make a big difference in your plant’s health. Cactus and succulents, for example, prefer a well-draining soil mix with lots of grit. On the other hand, tropical plants love a rich, moisture-retentive mix. If you’re unsure, it’s always a good idea to ask at your local garden center or do a bit of research on your specific plant.
- Soil Preparation: Sometimes, it’s not just about the type of soil but also how you prepare it. You might want to mix in some compost or other organic matter to give your soil a nutrient boost. This helps your plant get off to a good start in its new home.
Gathering Tools and Supplies
- Essential Tools: Before you get started, make sure you have the basics. A trowel or small shovel will help you move soil around. Pruners or scissors can be useful for trimming any unruly roots. And don’t forget a pair of gloves to keep your hands clean.
- Optional Supplies: Depending on your plant’s needs, you might also want some extra goodies like root stimulants to encourage new growth or a watering can to help settle the soil after planting.
By getting all your tools and materials ready before you start, you’ll make the repotting process go much smoother. It’s like having everything packed and ready for a move—it helps everything fall into place with less stress.
The Repotting Process
Great, you’re all set up and ready to go! Now let’s dive into the actual repotting process. Think of it as a little adventure for your plant, and with these easy steps, you’ll make sure it’s a smooth one.
Removing the Plant from Its Current Pot
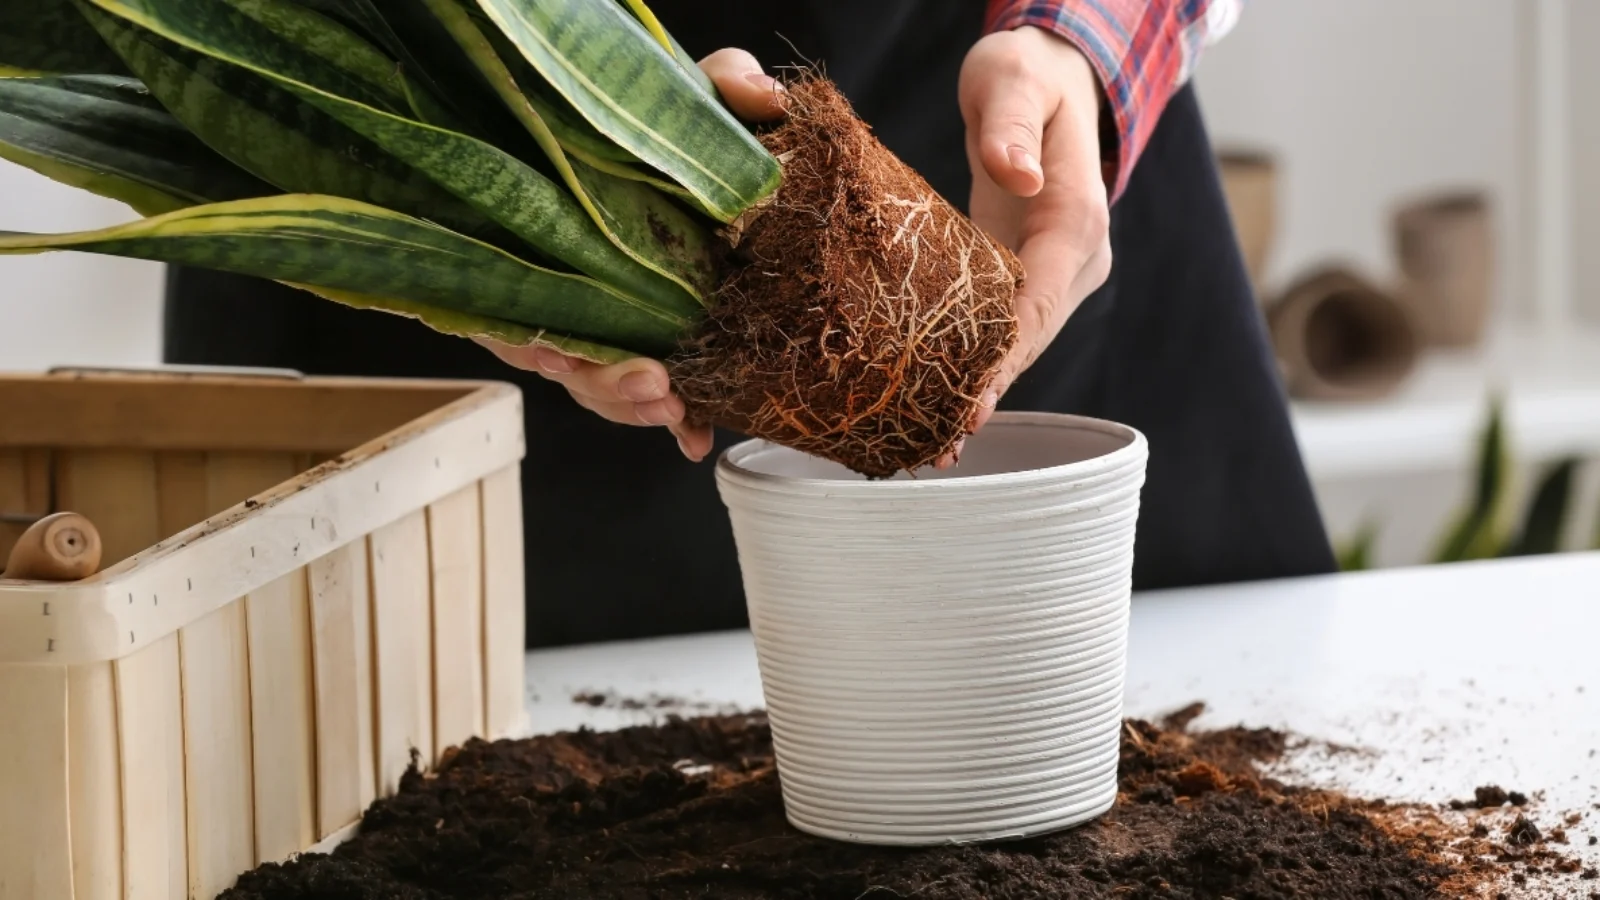
- Techniques for Gentle Removal: Start by gently tapping or squeezing the sides of the pot to loosen the soil. This helps to free the roots from the pot without causing any damage. If the plant is really stuck, you can carefully use a knife or a small tool to loosen the edges. Just be gentle—plants are sensitive, and you don’t want to hurt their roots.
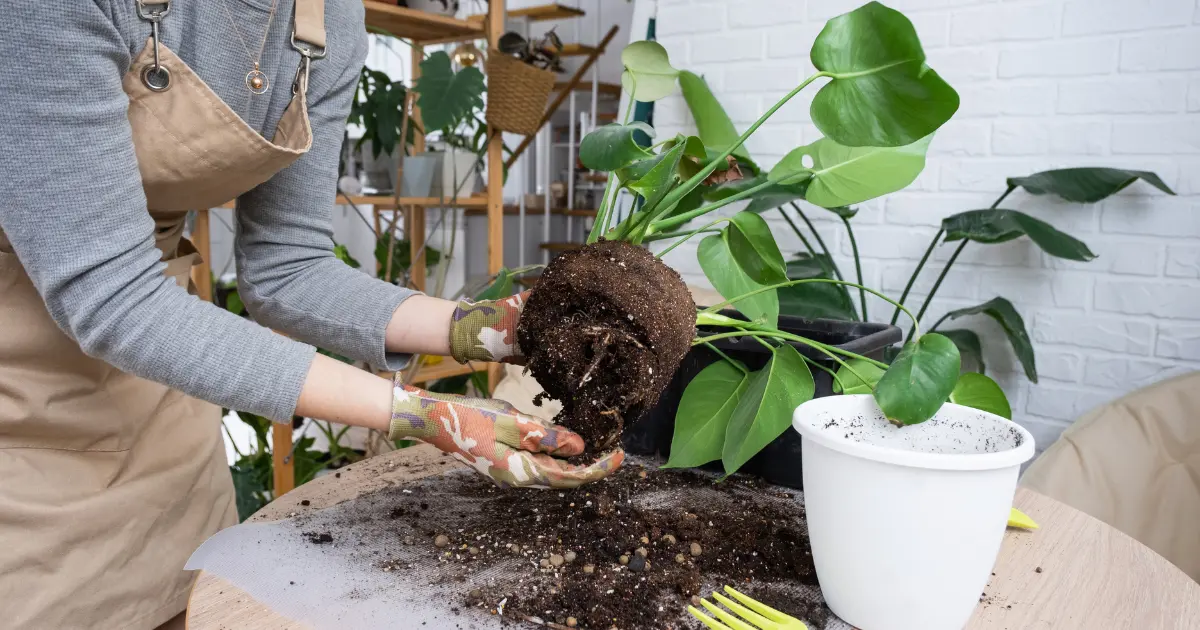
- Handling Root Balls: Once you’ve got the plant out, check the root ball (that’s the mass of roots and soil). If the roots are tightly wound or circling around, gently tease them apart with your fingers. This helps the roots spread out into the new soil instead of continuing to grow in circles.
Preparing the New Pot
- Layering for Drainage: Before you add your plant to the new pot, make sure it has good drainage. Put a layer of gravel or small stones at the bottom of the pot to help excess water escape. Then, add a bit of soil to cover the gravel and create a base for your plant.
Repotting the Plant
- Placing the Plant: Position your plant in the center of the new pot. The goal is to have the top of the root ball level with the rim of the pot. If you plant it too deep, the roots can suffocate; too high, and the plant might topple over.
- Filling and Firming the Soil: Now, fill in around the root ball with fresh soil. Gently press the soil down as you go to remove any air pockets and ensure the roots are well-supported. Be careful not to pack the soil too tightly, though—plants like their soil a bit loose.
Watering and Settling In
- Initial Watering: After you’ve repotted, give your plant a good drink of water. This helps to settle the soil and removes any remaining air pockets. Make sure the water drains out of the bottom of the pot, which is a sign that it’s reaching all the roots.
- Post-Repotting Care: Keep an eye on your plant over the next few days. Place it in a spot with indirect sunlight and avoid direct sun, which can stress the plant further. Monitor the soil moisture and water as needed—just make sure not to overdo it. Your plant will need some time to adjust to its new home, so be patient and give it a bit of TLC.
By following these steps, you’ll make the repotting process easy and effective, giving your plant the fresh start it deserves. It’s all about making the transition as smooth as possible, so your plant can grow happily in its new pot!
Minimizing Stress During and After Repotting
Repotting can be a bit of a shock to your plant, but with a few thoughtful steps, you can help minimize the stress and make the transition smoother. Think of it like giving your plant a gentle nudge into its new home rather than a jarring move. Here’s how to keep your plant as happy as possible during and after repotting.
Techniques to Reduce Stress
- Avoiding Root Damage: Roots are vital to a plant’s health, so it’s important to handle them with care. When removing the plant from its old pot, be as gentle as possible. Avoid tugging or pulling on the roots; instead, support the base of the plant and let the soil fall away naturally. If you need to trim any damaged roots, use clean, sharp scissors or pruners to make clean cuts.
- Temperature and Light: After repotting, your plant might be a bit disoriented. To help it settle in, place it in a spot with stable temperatures and gentle light. Avoid placing it in direct sunlight right away, as this can be too intense for a newly repotted plant. A spot with bright, indirect light is perfect to help your plant acclimate without adding extra stress.
Monitoring and Maintenance
- Signs of Stress: Keep an eye out for signs that your plant might be feeling stressed. Common symptoms include wilting, drooping leaves, or yellowing foliage. If you notice these signs, don’t panic! It’s normal for plants to take some time to adjust. Ensure you’re not overwatering or underwatering and that your plant is in an appropriate light condition.
- Ongoing Care: In the days and weeks following repotting, stick to a consistent care routine. Water the plant when the top inch of soil feels dry, and avoid fertilizing immediately after repotting, as this can add extra stress. Give your plant a little time to adjust before resuming regular feeding. As it settles into its new pot, it will start to show signs of new growth and recovery.
By taking these steps, you’ll help your plant adjust more comfortably to its new environment. A little patience and attentive care go a long way in making sure your plant bounces back and thrives in its new pot.
Troubleshooting Common Issues
Sometimes, despite our best efforts, plants can run into a few hiccups after repotting. But don’t worry—most issues are fixable with a little know-how and patience. Let’s go over some common problems you might encounter and how to tackle them.
Dealing with Transplant Shock
- Symptoms and Solutions: Transplant shock is a common reaction when plants are moved to a new pot. You might notice signs like wilting leaves, drooping stems, or even a slowdown in growth. This can happen because the plant is adjusting to its new environment and getting used to its new roots and soil. To help your plant recover, make sure it’s in a spot with stable, gentle light and avoid overwatering. It might take a few weeks, but with a bit of care, your plant should start to perk up and show signs of new growth.
Handling Overpotting
- Recognizing the Problem: Overpotting happens when the new pot is too large for the plant. This can lead to problems like waterlogging, where the soil retains too much moisture because the plant can’t use it all. You might notice yellowing leaves or root rot if this happens. To address overpotting, make sure you choose a pot that’s just a little larger than the old one. If you’ve already overpotted, you can try to improve drainage by adding more grit or sand to the soil mix, or consider repotting into a smaller pot if the plant seems too overwhelmed.
Addressing Soil Problems

- Compacted Soil: If the soil in your plant’s pot has become compacted, it can lead to poor water drainage and root health issues. Compacted soil doesn’t allow water to flow through properly, which can suffocate the roots. To fix this, gently loosen the soil with a fork or stick, being careful not to damage the roots. You can also refresh the top layer of soil with a new mix to help improve drainage.
- Nutrient Deficiencies: Sometimes, plants show signs of nutrient deficiencies after repotting, like yellowing leaves or stunted growth. This can happen if the new soil doesn’t have enough nutrients or if the plant has used up the existing nutrients too quickly. To address this, you can start feeding your plant with a balanced, diluted fertilizer once it’s settled in. Avoid over-fertilizing, as this can cause more harm than good. Follow the instructions on the fertilizer package and apply it sparingly to give your plant a boost without overwhelming it.
By keeping an eye out for these common issues and taking proactive steps, you’ll help your plant navigate its new home with ease. Most problems are manageable with a little attention, so don’t stress—just use these tips to get your plant back on track!
Conclusion
Congratulations! You’ve successfully repotted your plant and given it a fresh new start. With a little patience and the right care, your plant will thrive in its new home. Let’s quickly recap the key takeaways and a few final tips to keep everything on track.
Summary of Key Points
We’ve covered a lot, so let’s make sure you have the essentials down pat:
- When to Repot: Look for signs like root-bound conditions, growth stagnation, or soil degradation to determine when your plant needs a new pot.
- Preparing for Repotting: Choose the right pot size and material, select appropriate soil, and gather your tools to make the process easier.
- Repotting Process: Handle your plant gently, make sure to prepare the new pot correctly, and provide proper watering and care immediately after repotting.
- Minimizing Stress: Reduce transplant shock by avoiding root damage, maintaining stable light and temperature, and monitoring your plant’s recovery.
- Troubleshooting Issues: Address common problems like transplant shock, overpotting, compacted soil, and nutrient deficiencies with practical solutions.
Encouragement and Final Tips
Remember, repotting is a normal part of plant care and a great opportunity to give your plant a boost. It might take a little time for your plant to adjust, but with the right care, it’ll soon settle in and start growing happily in its new pot.
Keep an eye on your plant’s needs and continue to provide it with the right light, water, and nutrients. Regular check-ins will help you spot any potential issues early and ensure your plant stays healthy and vibrant.
Final Words
Taking care of your plants can be incredibly rewarding, and repotting is just one of the ways to show your green friends some love. With these tips in your toolkit, you’re well-equipped to handle repotting like a pro. So go ahead, give your plants the space they need to grow and flourish, and enjoy watching them thrive in their new homes!


