Contents
Introduction to Plant Propagation: A Beginner’s Guide
Welcome to the wonderful world of plant propagation! If you’ve ever admired a friend’s lush indoor garden or wanted to save a little cash while expanding your own plant collection, understanding propagation is your golden ticket. But what exactly is plant propagation? In simple terms, it’s the process of creating new plants from an existing one. Think of it as a way to clone your favorite plants, so you can enjoy even more greenery without buying new ones.
Why is plant propagation such a big deal? For starters, it’s a fantastic way to save money. Instead of splurging on new plants, you can turn a single healthy plant into many. Plus, it’s a rewarding process that gives you a deeper connection to your plants. Watching a tiny cutting grow into a full-sized plant is like watching a plant miracle unfold right in your living room.
There are a few main methods of plant propagation, but don’t worry—these aren’t complicated science experiments. The most common methods are:
- Cuttings: Snipping a part of the plant (like a leaf or stem) and encouraging it to grow roots. This method is pretty straightforward and works with many popular houseplants.
- Division: Splitting an established plant into smaller sections, each of which will grow into a new plant. This method works great for plants that grow in clusters or have multiple stems.
- Leaf Propagation: Using just a single leaf to grow a new plant. It’s a bit more niche but still a cool trick for certain plant types.
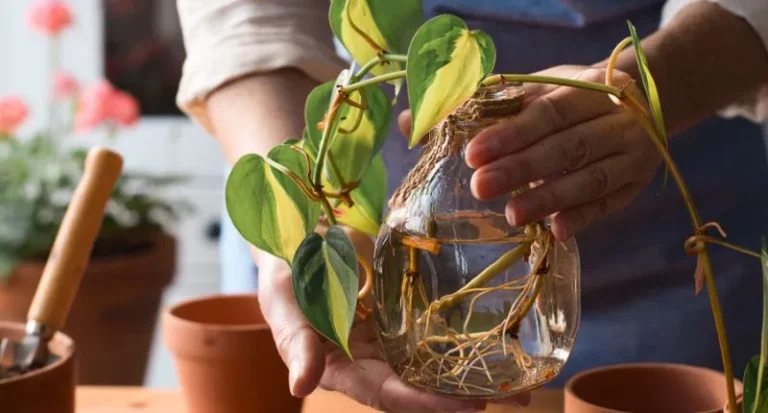
- Water Propagation: Placing a cutting in water until it develops roots, then transferring it to soil. It’s like giving the plant a little bath before moving it to its new home.
- Soil Propagation: Planting a cutting directly into soil and waiting for it to grow roots. It’s a bit simpler and less hands-on than water propagation.
Each method has its perks and works best with different types of plants. But regardless of the method you choose, the basics are all about patience and care. Plants, like people, need a bit of time to grow and thrive.
So, whether you’re a seasoned plant enthusiast or just starting out, plant propagation is a fun and rewarding way to expand your indoor garden. Ready to dive in? Let’s explore the techniques for some popular indoor plants and get those green thumbs working!
Propagation Techniques for Specific Popular Indoor Plants
Alright, let’s get down to the nitty-gritty of propagating some of the most beloved indoor plants! Each plant has its own quirks and favorite methods for multiplying, so we’ll cover the best techniques for a few popular choices. Whether you’re a plant newbie or a seasoned green thumb, these tips will help you turn one thriving plant into a whole new batch.
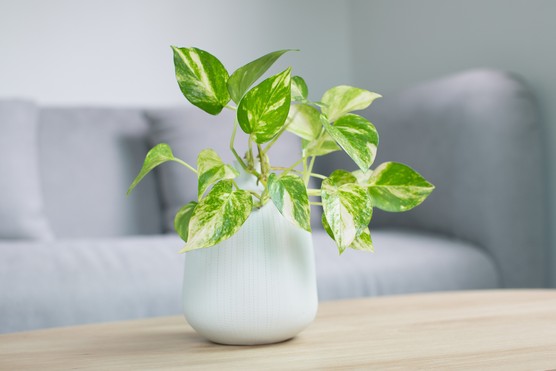
Pothos (Epipremnum aureum)
Pothos is practically a poster child for easy-care indoor plants, and it’s also a champ when it comes to propagation. Here’s how you can make more of these beautiful trailing vines:

- Cuttings: Snip off a section of the plant that’s about 4-6 inches long and make sure it includes a few nodes (those little bumps on the stem where leaves and roots grow). Place your cutting in a jar of water, making sure the nodes are submerged but not the leaves. Change the water every few days to keep it fresh. Within a couple of weeks, you’ll see roots sprouting. Once the roots are a few inches long, you can pot it in soil. You can also root pothos cuttings directly in soil if you prefer, just keep the soil moist and wait for new growth.
- Care Tips During Propagation: Pothos love bright, indirect light. Keep the plant in a warm, humid spot to speed up rooting. Avoid direct sunlight, as it can scorch the leaves.
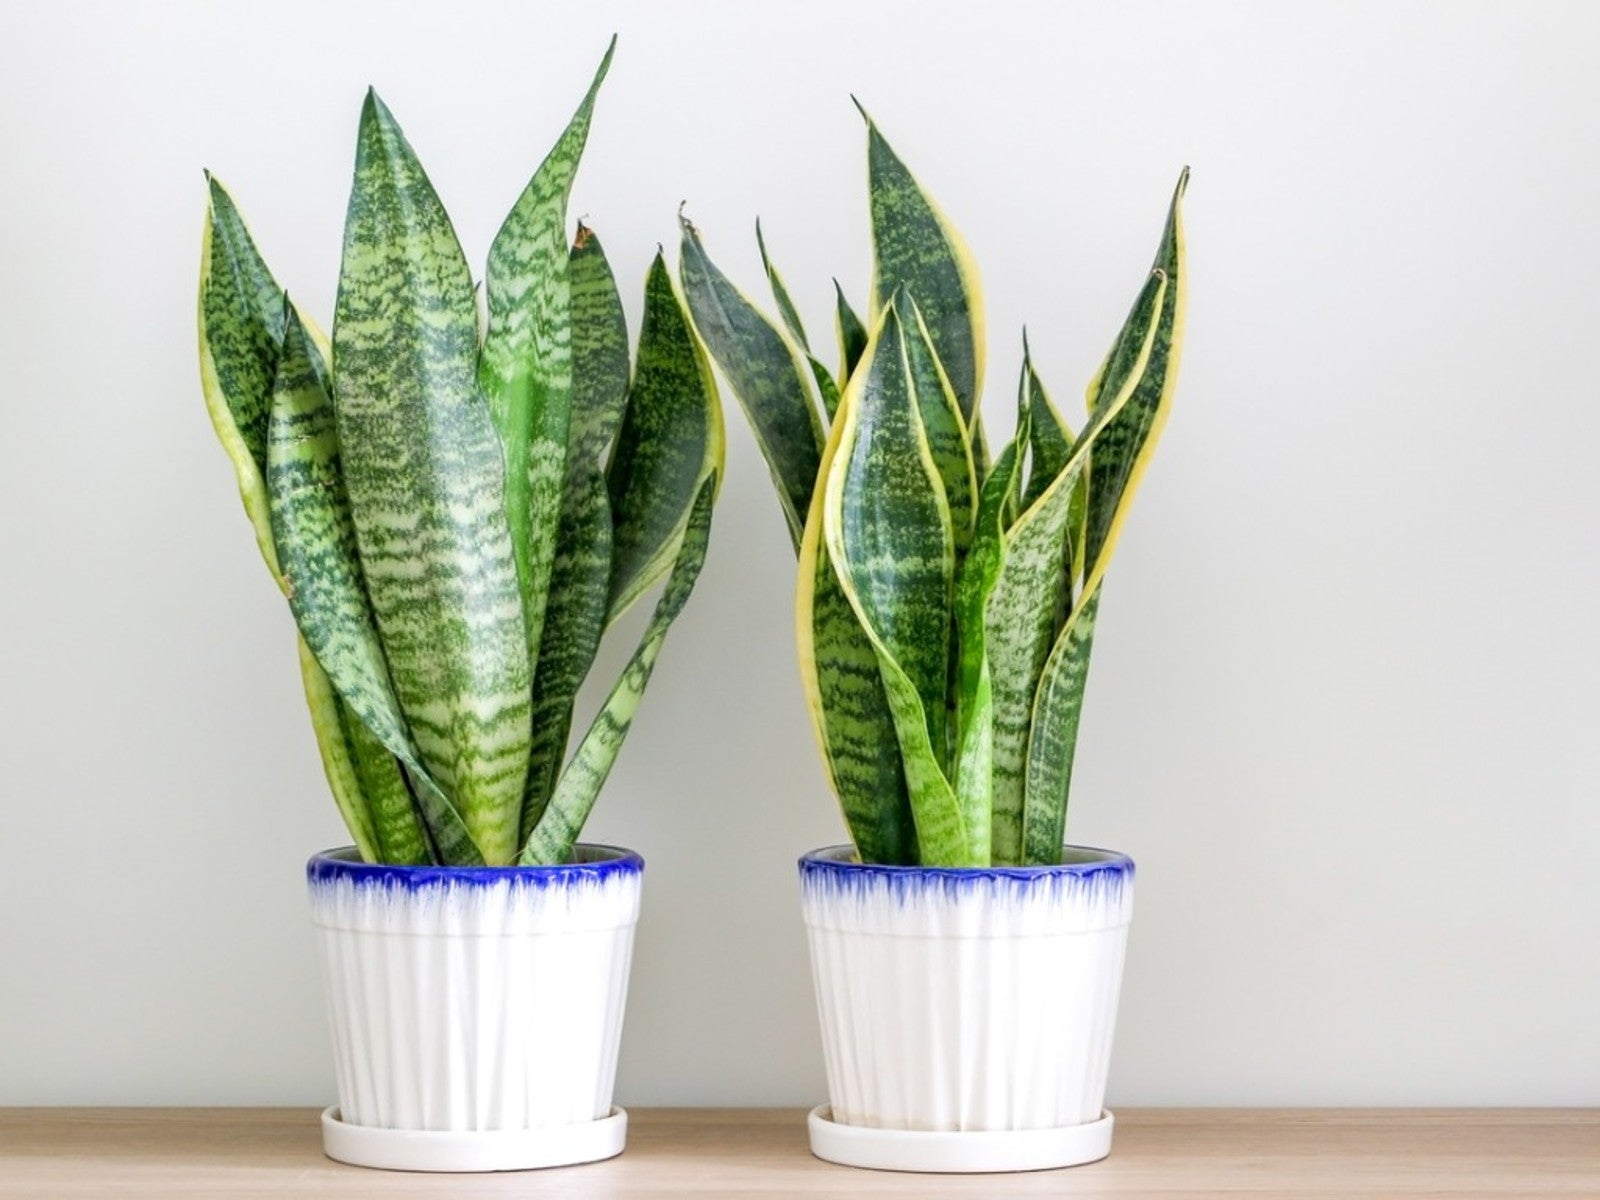
Snake Plant (Sansevieria trifasciata)
The snake plant, with its sleek, upright leaves, is another favorite. It’s not only tough but also quite forgiving when it comes to propagation:
- Leaf Cuttings: Choose a healthy, mature leaf and cut it at the base. Let the leaf section dry out for a day or two before planting it in soil. Insert the leaf about an inch deep into the soil and water lightly. New shoots will start to appear from the base in a few months. You can also propagate snake plants by dividing the root system, but that’s a bit more involved.
- Division: If your snake plant has multiple stems, you can gently separate them by pulling apart the roots. Replant each section in its own pot. This method is great for quickly expanding your plant collection.
- Care Tips: Snake plants thrive in low light and dry conditions. Water sparingly, allowing the soil to dry out completely between waterings.
Spider Plant (Chlorophytum comosum)
The spider plant is known for its air-purifying qualities and its adorable “babies” or offsets. Here’s how to propagate this fun plant:

- Offsets (Pups): Look for small plantlets that grow on long stems (called “babies”) extending from the mother plant. Gently separate these pups from the main plant and pot them up in fresh soil. They’ll quickly develop into new plants.
- Rooting in Water: You can also root these pups in water. Place the pups in a jar with water, ensuring that the roots are submerged. Once they’ve developed a good root system, transfer them to soil.
- Care Tips: Spider plants enjoy bright, indirect light and need regular watering. They’re also pretty adaptable to different environments.
Philodendron
Philodendrons are known for their stunning foliage and are quite easy to propagate. Here’s how you can create more of these gorgeous plants:
- Stem Cuttings: Cut a section of the stem that includes at least one node. Place the cutting in water or soil, and keep it warm and humid. If rooting in water, change the water regularly and move the cutting to soil once it has developed a decent root system.
- Care During Propagation: Philodendrons like bright, indirect light and consistent moisture. Avoid overwatering, as this can lead to root rot.
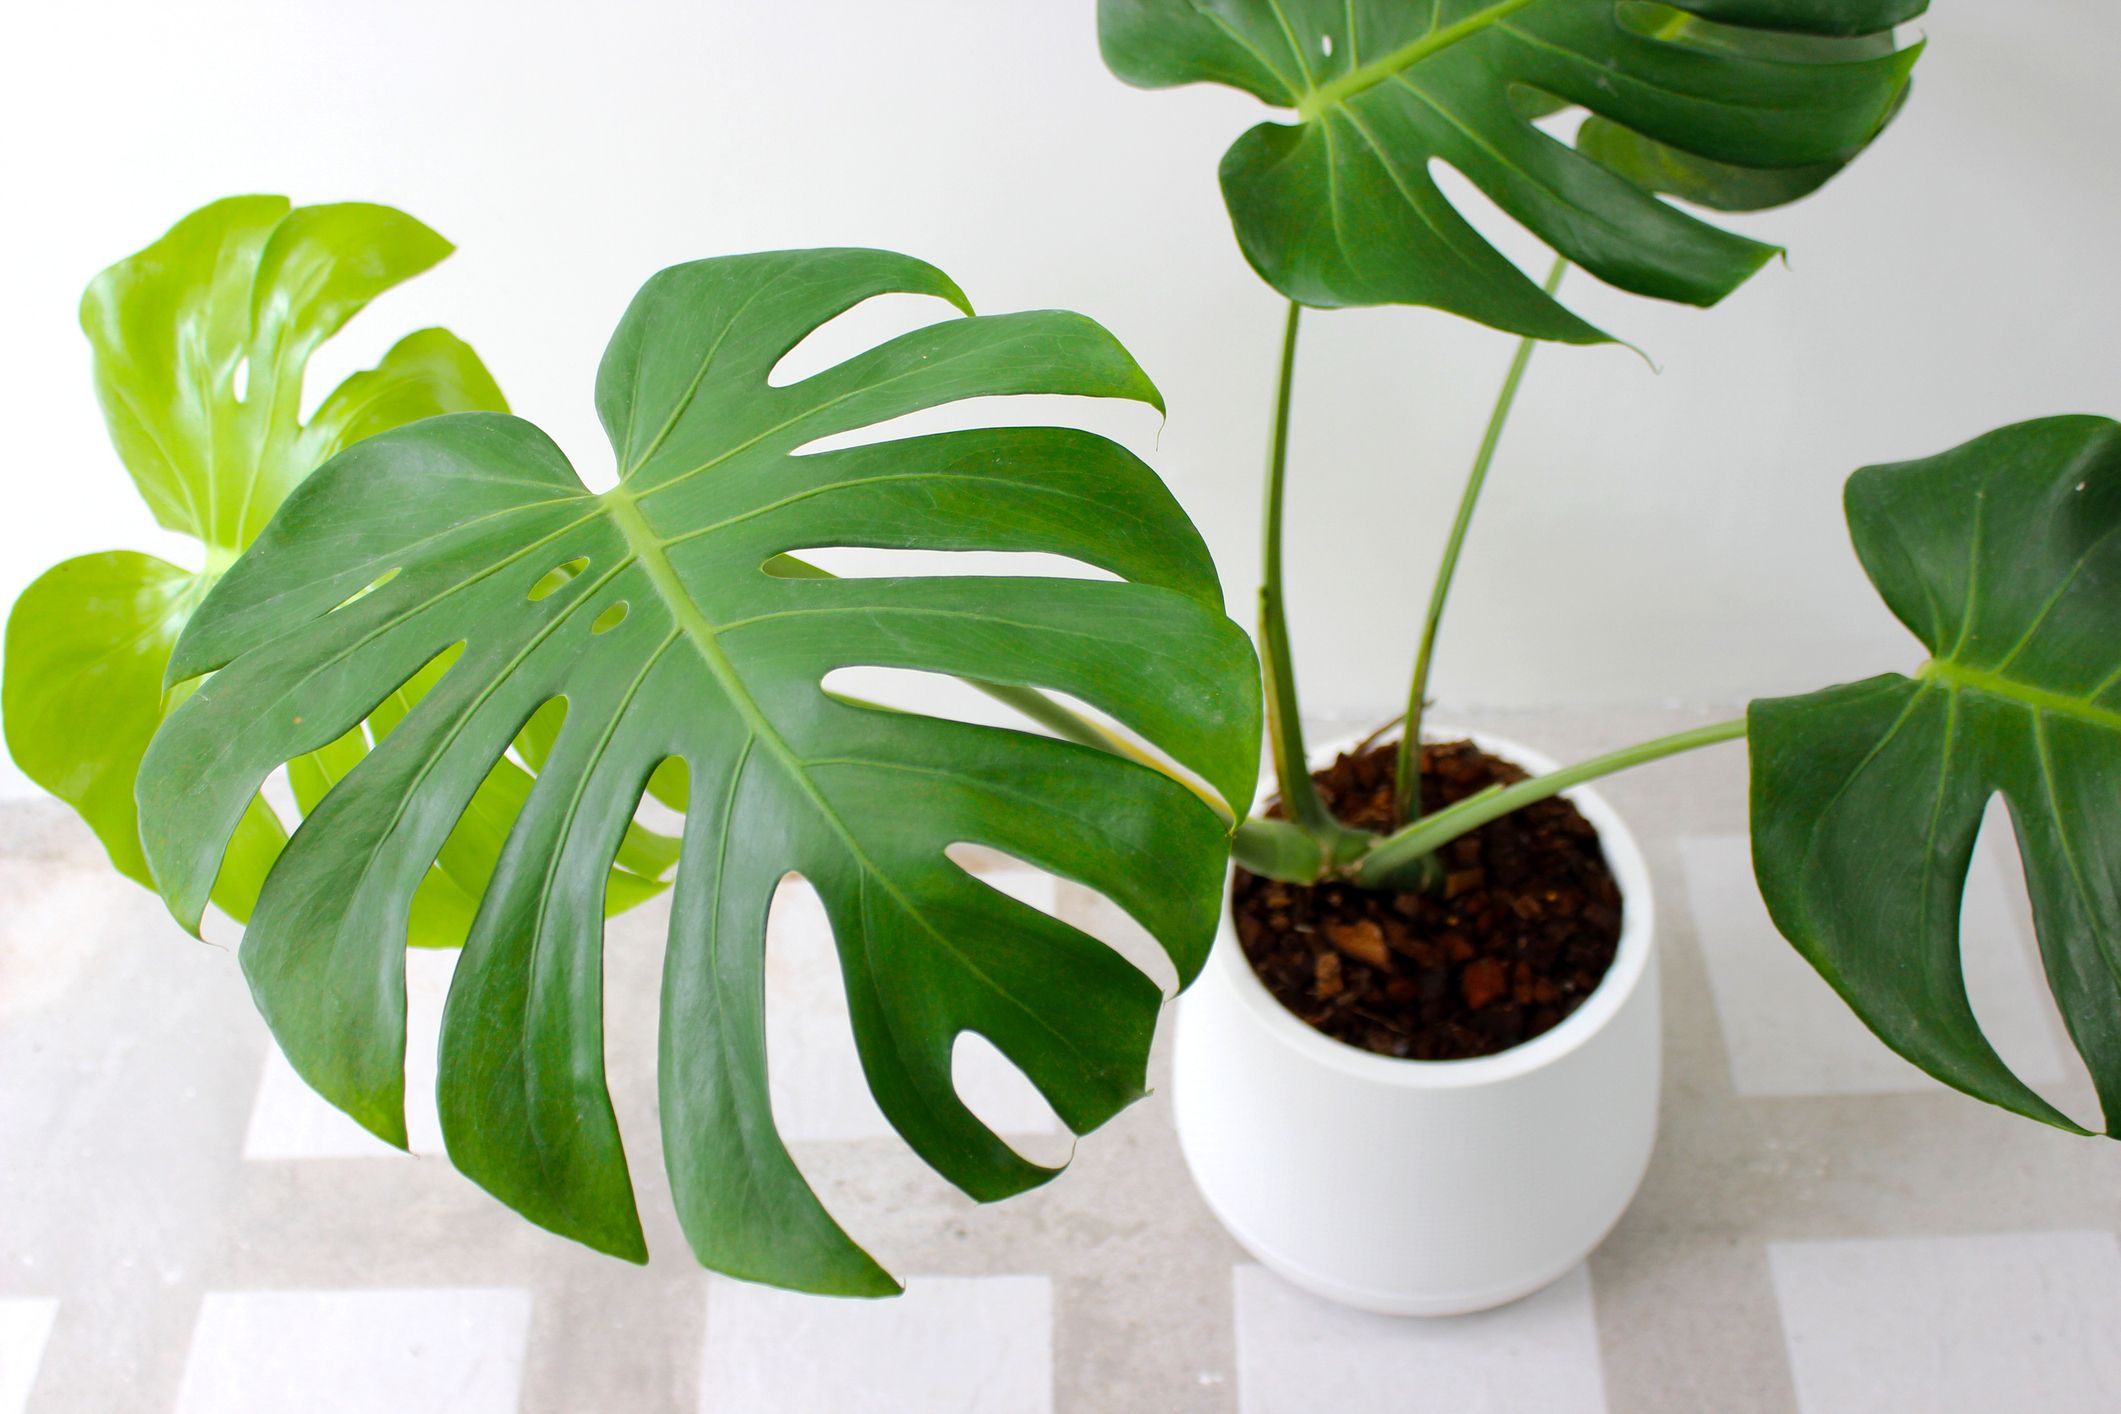
Monstera (Monstera deliciosa)
The Monstera, famous for its dramatic, split leaves, is a bit of a showstopper. Here’s how to propagate this iconic plant:

- Node Cuttings: Take a cutting that includes at least one node and, if possible, an aerial root. Place it in water or soil. If using water, make sure the node is submerged but not the leaves. Wait for the roots to grow a few inches before moving the cutting to a pot.
- Care for New Plants: Monstera loves bright, indirect light and high humidity. Provide a support structure as it grows, and keep the soil consistently moist but not waterlogged.
So, whether you’re working with pothos, snake plants, spider plants, philodendrons, or monsteras, each plant has its own way of multiplying. Follow these tips, and you’ll have a thriving collection of new plants to enjoy or share with friends!
General Propagation Tips for Indoor Plants
Ready to dive into the world of plant propagation? Here are some essential tips to help you get the most out of your plant-cloning adventure. Whether you’re new to propagating or looking to refine your technique, these guidelines will set you up for success.
Choosing the Right Medium
One of the first things you’ll need to decide is whether to propagate your plants in soil or water. Each method has its perks, and the choice often depends on the type of plant and your personal preference.
- Soil Propagation: This method involves planting your cuttings directly into soil. It’s straightforward and doesn’t require frequent monitoring like water propagation. Make sure to use a well-draining potting mix to prevent root rot. Soil propagation is great for plants that prefer a more stable growing environment right from the start.
- Water Propagation: Here, you place your cuttings in water until they develop roots. It’s an excellent way to monitor root growth and is often faster for some plant types. Just be sure to change the water every few days to keep it clean and prevent stagnation. Once the roots are a few inches long, you’ll need to transfer the cuttings to soil.
Optimal Environmental Conditions
Plants are like people—they thrive in the right conditions. To give your propagating plants the best chance, create a comfortable environment for them to grow.
- Light: Most plants prefer bright, indirect light for propagation. Direct sunlight can be too harsh and may scorch delicate cuttings. If you don’t have a bright spot, consider using a grow light to provide the right amount of illumination.
- Temperature: Keep your plants in a warm area, ideally between 65°F and 75°F (18°C to 24°C). Avoid placing them near drafts, heaters, or air conditioners, as sudden temperature changes can stress the plants.
- Humidity: Many plants thrive in higher humidity, especially during the propagation phase. If your home is dry, you can increase humidity by placing a tray of water near your plants or using a humidifier. Misting the cuttings can also help maintain moisture levels.
Common Issues and Troubleshooting
Even with the best care, you might run into some hiccups during propagation. Here’s how to handle common problems:
- Rotting: If your cuttings or roots start to look mushy or smell bad, they might be suffering from rot. This usually happens when the plant is sitting in stagnant water or overly damp soil. To fix it, trim away the rotted parts and make sure to use clean, well-draining soil or change the water regularly.
- Mold: Mold can appear on the surface of the soil or on the plant itself. It often thrives in overly humid conditions. To combat mold, improve air circulation around your plants and reduce humidity levels if necessary. Remove any moldy material promptly.
- Slow Growth: If your cuttings seem to be growing slowly or not at all, it might be due to insufficient light, improper temperatures, or inadequate humidity. Check the environmental conditions and make adjustments as needed. Also, ensure that your cuttings are healthy and free from disease or pests.
By keeping these tips in mind, you’ll be well on your way to successful plant propagation. It’s all about creating the right conditions and being patient as your plants grow and thrive. Happy propagating!
Tools and Supplies for Plant Propagation
If you’re gearing up to propagate some indoor plants, having the right tools and supplies can make the process smoother and more enjoyable. Here’s a handy guide to what you’ll need to get started and ensure your plants thrive.
Essential Tools
- Pruning Shears: These are your go-to for snipping cuttings. A clean, sharp pair of pruning shears will help you make precise cuts and minimize damage to the plant. Look for a pair that feels comfortable in your hand and can easily cut through stems and leaves.
- Propagation Stations: These are specialized setups for rooting cuttings in water. They typically feature glass tubes or vases that hold the cuttings while allowing roots to grow. Some stations come with multiple tubes, making it easy to propagate several cuttings at once. They not only serve a functional purpose but can also look quite decorative.
- Pots: For soil propagation, you’ll need pots with good drainage. Look for ones with holes at the bottom to prevent water from pooling, which can lead to root rot. Choose pots that are appropriately sized for your cuttings—too large, and the soil might stay wet for too long; too small, and the roots might not have enough room to grow.
- Potting Mix: A high-quality, well-draining potting mix is crucial for healthy root development. For most indoor plants, a standard mix with perlite or vermiculite is ideal. For specific plants, you might need specialized soil, such as cactus mix for succulents or orchid mix for orchids.
Optional Supplies
- Rooting Hormones: These can give your cuttings a little boost by encouraging root growth. Available in powder or liquid form, rooting hormones are applied to the cut ends of cuttings before planting. They can help speed up the rooting process and increase your success rate.
- Humidity Trays: These are shallow trays filled with water and pebbles. Place your pots on the tray to create a more humid environment around the plants. This is especially helpful for cuttings that need higher humidity to root successfully.
- Grow Lights: If you don’t have a bright spot in your home, grow lights are a great investment. They provide the necessary light spectrum that plants need to grow and develop healthy roots. Adjustable grow lights allow you to customize the light intensity and duration, mimicking natural sunlight conditions.
- Misting Bottle: A spray bottle for misting your cuttings can help maintain humidity levels around them. This is particularly useful if you’re propagating in a dry environment. Just be sure to mist lightly and regularly, avoiding over-saturation.
Having these tools and supplies at your disposal will make propagating your indoor plants a breeze. Whether you’re starting with a simple cutting or diving into more advanced techniques, being well-equipped will ensure that your plant propagation journey is as successful and enjoyable as possible. Happy planting!
Conclusion
So, you’ve learned the ins and outs of propagating indoor plants, from the basics to the specific techniques for some of your favorites. Whether you’re a plant enthusiast looking to expand your collection or a newbie eager to try your hand at plant cloning, the world of propagation is both rewarding and fun. Here’s a quick recap and a bit of encouragement to get you started.
Summary of Key Points
We’ve covered various methods for propagating popular indoor plants like pothos, snake plants, spider plants, philodendrons, and monsteras. Each plant has its unique needs and preferred propagation methods. For instance, pothos are great with cuttings in water or soil, while snake plants can be divided or propagated from leaf cuttings. Spider plants produce offsets, philodendrons are best propagated from stem cuttings, and monsteras thrive from node cuttings. Understanding these specific techniques helps ensure that your new plants will grow strong and healthy.
Additionally, we discussed essential propagation tips, including choosing the right medium (soil vs. water), creating optimal environmental conditions (light, temperature, and humidity), and troubleshooting common issues like rotting, mold, and slow growth. With these insights, you’re equipped to handle any challenges that may arise during propagation.
Encouragement to Experiment
Now that you have the knowledge, it’s time to put it into action! Don’t be afraid to experiment with different propagation methods and plant types. Every plant is a bit different, and what works perfectly for one might not be the best for another. It’s all part of the learning process.
Remember, patience is key. Plants don’t grow overnight, and propagation is no exception. Give your cuttings and new plants the time they need to develop strong roots and healthy growth. Enjoy the journey and celebrate each small success along the way.
Feel free to share your propagation successes and tips with fellow plant lovers. The more you practice, the more confident you’ll become in your plant propagation skills. So go ahead—grab those shears, get your hands dirty, and watch your indoor garden flourish with new, beautiful plants. Happy propagating!


