Contents
- 1 Introduction: Growing Orchids in Water – The Easy and Beautiful Way to Care for Your Plants
- 2 Understanding the Basics of Orchids and Water Cultivation
- 3 Choosing the Right Orchid for Water Growth
- 4 Preparing the Environment for Water Cultivation
- 5 Step-by-Step Guide to Growing Orchids in Water
- 6 Care and Maintenance of Water-Grown Orchids
- 7 Troubleshooting Common Issues with Water-Grown Orchids
- 8 Transitioning Back to Soil or Potting Mix
- 9 Conclusion
Introduction: Growing Orchids in Water – The Easy and Beautiful Way to Care for Your Plants
If you’ve ever admired the stunning beauty of orchids, you’re not alone! These elegant flowers bring a touch of nature’s luxury to any home, but taking care of them might seem like a bit of a challenge. Traditional orchid care often involves potting them in soil or bark, which can be tricky for beginners. But what if we told you there’s an easier, low-maintenance way to grow orchids – and that’s by using water?
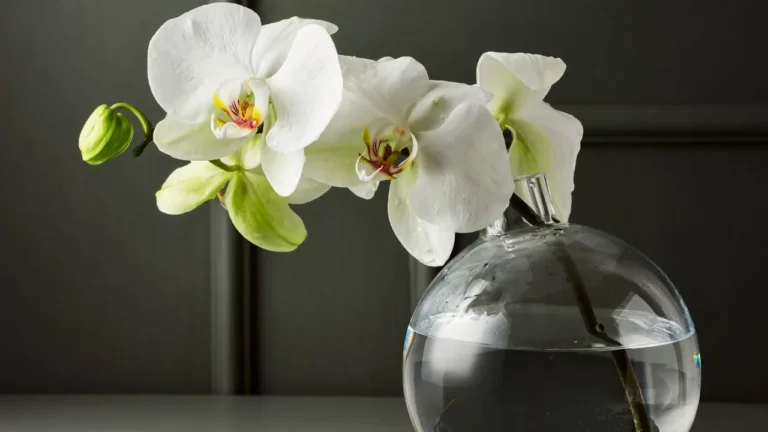
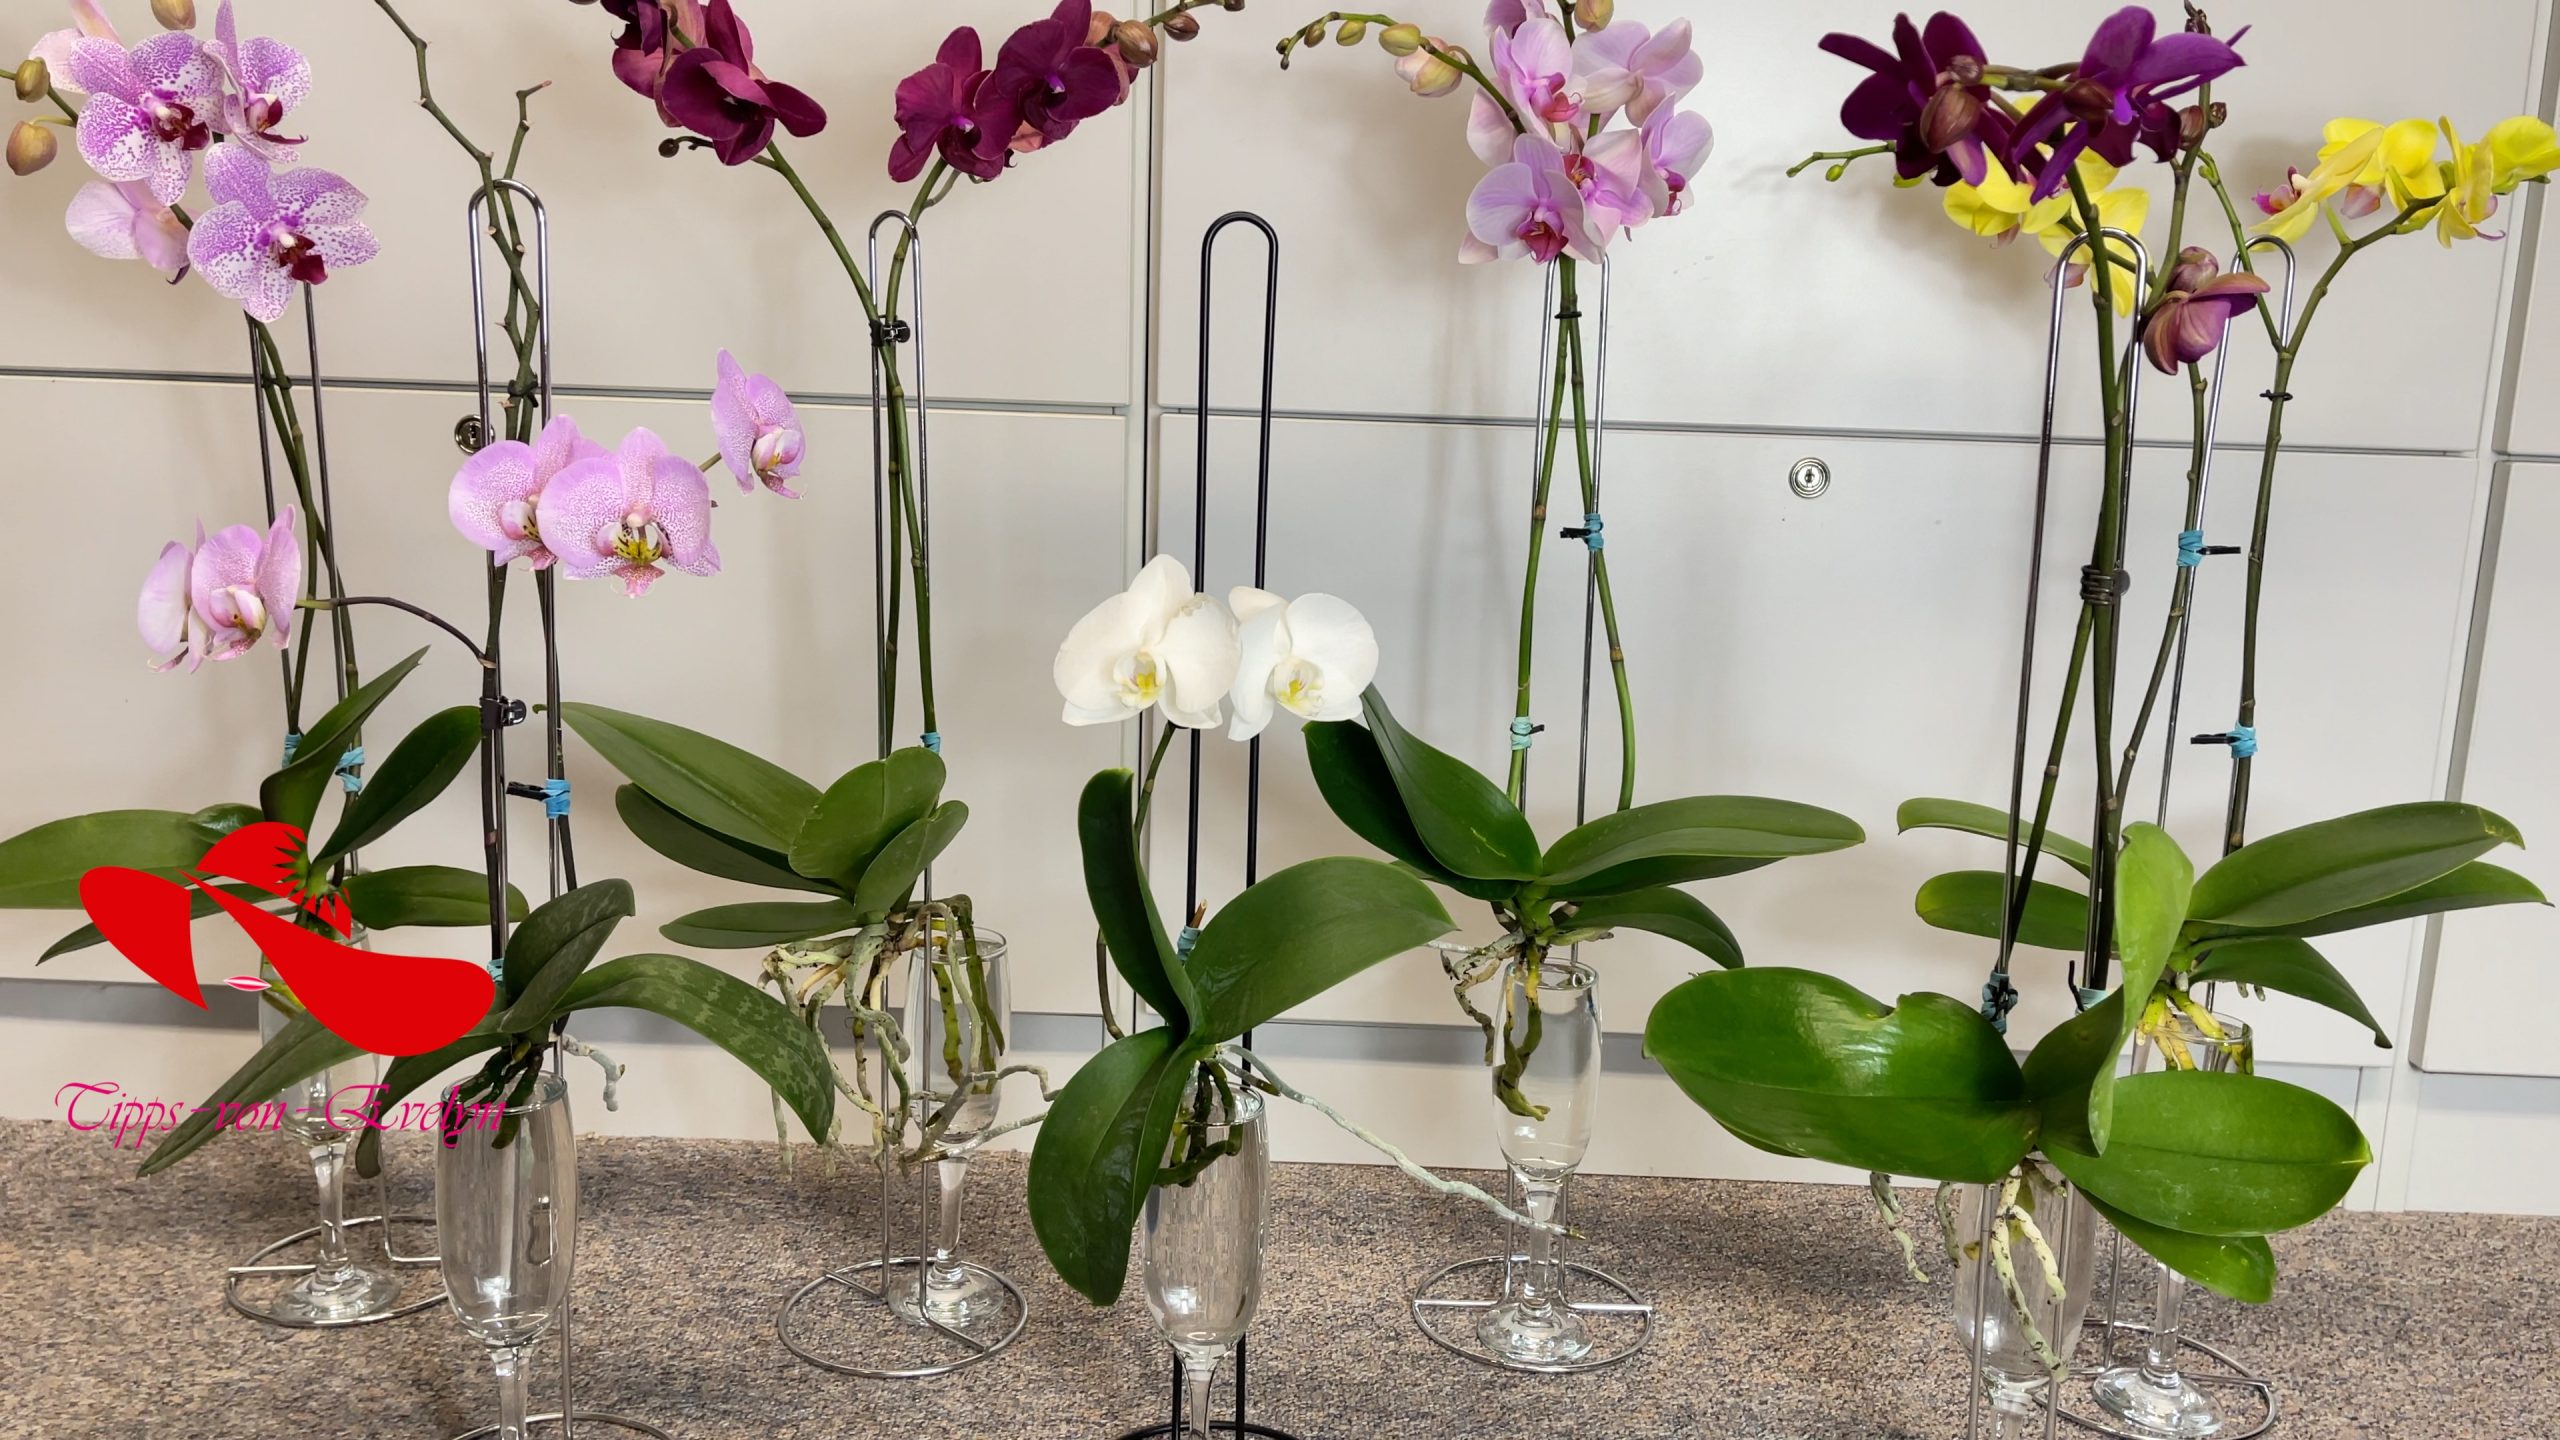
Yes, you read that right. Growing orchids in water is a method that’s gaining popularity, and for good reason. Not only does it simplify orchid care, but it also creates a unique, visually striking display as your orchids grow in clear glass containers. This technique works especially well for certain types of orchids, such as moth orchids (Phalaenopsis orchids), that naturally thrive in moist, humid environments – and let’s face it, who doesn’t love the idea of a gorgeous flowering orchid growing effortlessly in a vase of water?
The beauty of this method is that it mimics the natural habitat of orchids, which are often epiphytic plants. In nature, they grow on trees or other surfaces, soaking up moisture from the air and rain – they don’t necessarily need soil to survive. When grown in water, orchids can still get the hydration and nutrients they need, while their orchid roots can breathe and thrive without the risk of getting waterlogged or suffocated in soil.
Not only is this an eye-catching way to display your orchids, but it’s also incredibly simple. Forget about worrying over soil, repotting, or dealing with pests in the soil – growing orchids in water takes care of those concerns. Plus, it’s a great conversation starter when guests come over and ask how you keep your orchid plants so healthy and beautiful.
In this guide, we’ll walk you through everything you need to know about growing orchids in water. From choosing the right orchid species to setting up the perfect environment for them to thrive, we’ll cover all the basics in a way that’s easy to understand. Whether you’re an orchid enthusiast or a complete beginner, this method can help you enjoy healthy, beautiful orchids with little hassle. Let’s dive into the world of water-grown orchids!
Understanding the Basics of Orchids and Water Cultivation
What Makes Orchids Special?
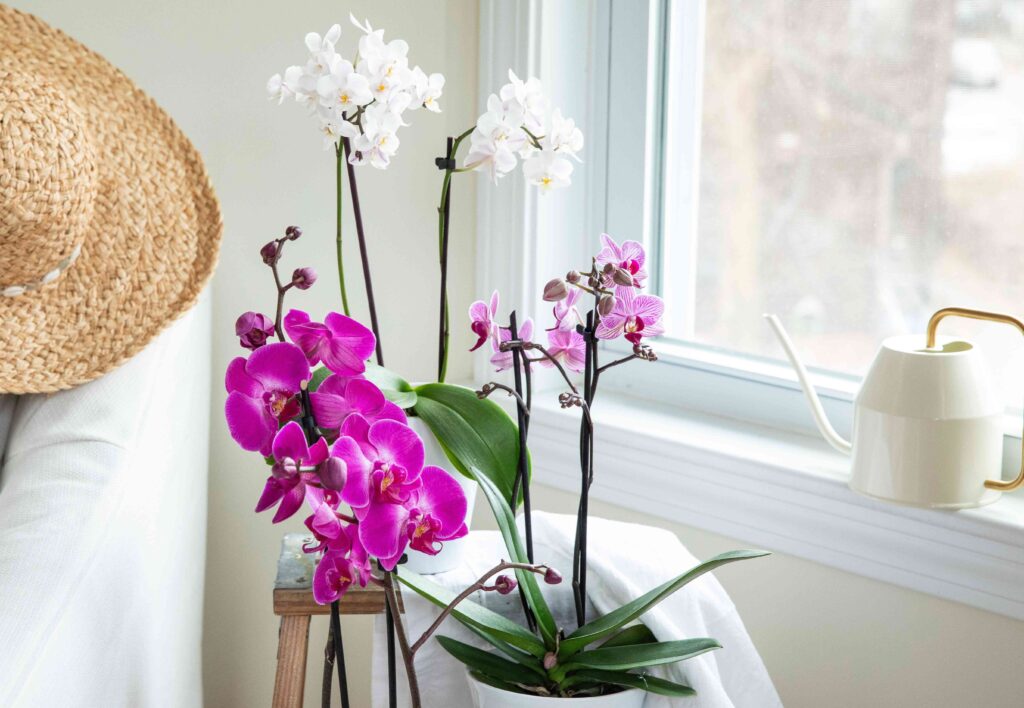
Orchids are unique plants, known for their beautiful flowers and unusual growth habits. Many orchids are epiphytes, meaning they don’t need soil to grow. Instead, they naturally live on trees or rocks, absorbing moisture from the air. This ability to thrive without soil is why growing orchids in water works so well – it mimics their natural environment.
Water Cultivation Mimics Their Natural Habitat
Orchids love humid, tropical environments where they can absorb moisture from the air. By growing orchids in water, you’re recreating those conditions. The roots stay hydrated, and the orchid plant gets the humidity it craves, just like it would in the wild.
Why Water Works for Orchids
Water gives orchids the moisture they need while preventing the orchid roots from becoming waterlogged. This method also provides the humidity orchids thrive on, promoting healthy growth. It’s a simple, effective way to keep your orchid happy without the mess of soil.
Choosing the Right Orchid for Water Growth
Best Orchid Species for Water Cultivation
Not all orchids are suited for growing in water, so it’s important to choose the right type. Some orchid species, like Phalaenopsis (moth orchids) and Dendrobium orchids, are perfect for water cultivation because they thrive in humid conditions and have roots that can easily adapt to being submerged in water. These varieties are commonly found in homes and are beginner-friendly. Other orchid species such as the slipper orchid also perform well in water-grown environments. For those located in South Florida or South America, there are many species of orchids that thrive in the humid tropical conditions perfect for water growth.
What to Look for Before Starting
Before you begin, ensure your orchid plant is healthy and ready for water growth. Look for plants with firm, healthy orchid roots and vibrant orchid leaves. Also, check if your environment has enough light and warmth – orchids love bright, indirect light and warmer temperatures, which are essential for their survival in water.
By choosing the right species and preparing your orchid properly, you set the stage for success in growing orchids in water.
Preparing the Environment for Water Cultivation
Selecting the Right Container
Choosing the right container is key to growing orchids in water. Glass vases, mason jars, or clear containers work best, as they allow you to see the roots and monitor the water level. The container should be wide enough to allow the orchid roots to spread out but not too deep that the roots become submerged in too much water. An orchid pot designed for water cultivation also works well, as long as it allows for enough airflow to prevent root rot.
Water Quality and Maintenance
The water you use is just as important as the container. It’s best to use distilled or rainwater, as tap water can contain chemicals that may harm your orchid. Make sure to change the water regularly, about once a week, to keep it fresh and prevent stagnation. Keep the water level just below the roots to avoid over-watering, and be sure to top it up as needed. If you’re growing orchids in a more humid environment, like South Florida, be mindful of the temperature and water quality to ensure your orchid thrives.
Step-by-Step Guide to Growing Orchids in Water
Preparing the Orchid
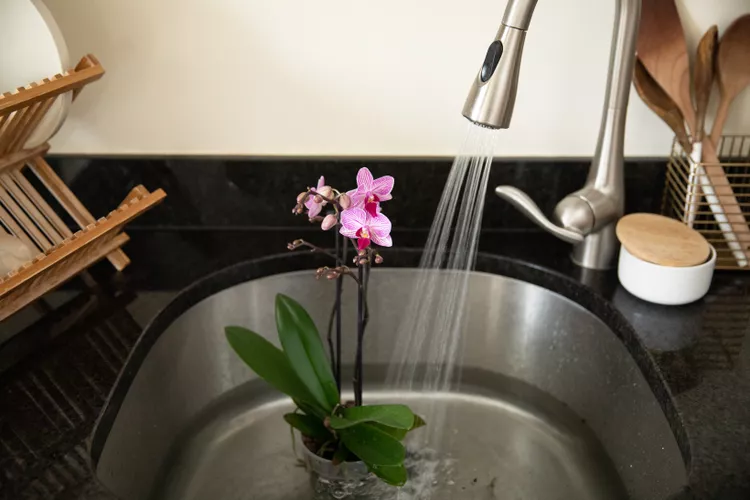
Before placing your orchid in water, you need to prepare it. Gently remove the orchid from its pot, being careful not to damage the roots. Trim off any dead or damaged roots with clean scissors. Then, rinse the orchid roots thoroughly to remove any soil or potting mix. This ensures the orchid’s roots are clean and ready for water. If you’re repotting orchids from soil or bark, you may want to use sphagnum moss to help the transition.
Placing the Orchid in Water
Once your orchid is prepared, it’s time to place it in a container with water. Position the orchid roots in the container so they are partially submerged, but avoid fully submerging the crown (the top part of the orchid plant) in water. The orchid’s roots should be able to touch the water, while the rest of the plant stays above the surface. Orchid species such as Phalaenopsis orchids and moth orchids fare well in this environment due to their aerial roots.
Supporting the Orchid’s Growth
To keep the orchid steady, you can use decorative stones or pebbles. These will help support the orchid and prevent it from tipping over. Be sure the roots have enough space to breathe and grow, and adjust the water level as needed to ensure proper hydration without drowning the plant.
Care and Maintenance of Water-Grown Orchids
Watering and Hydration
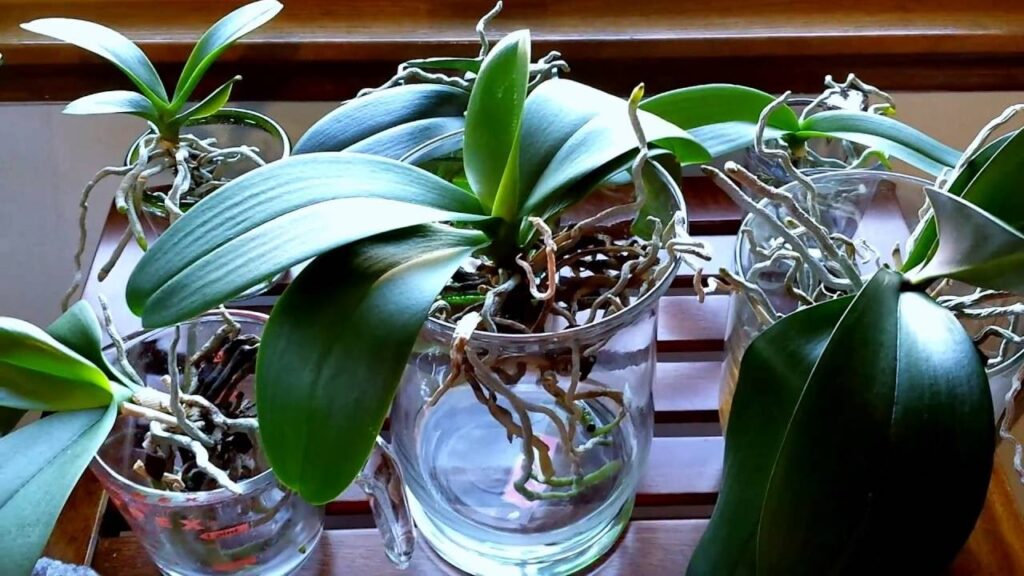
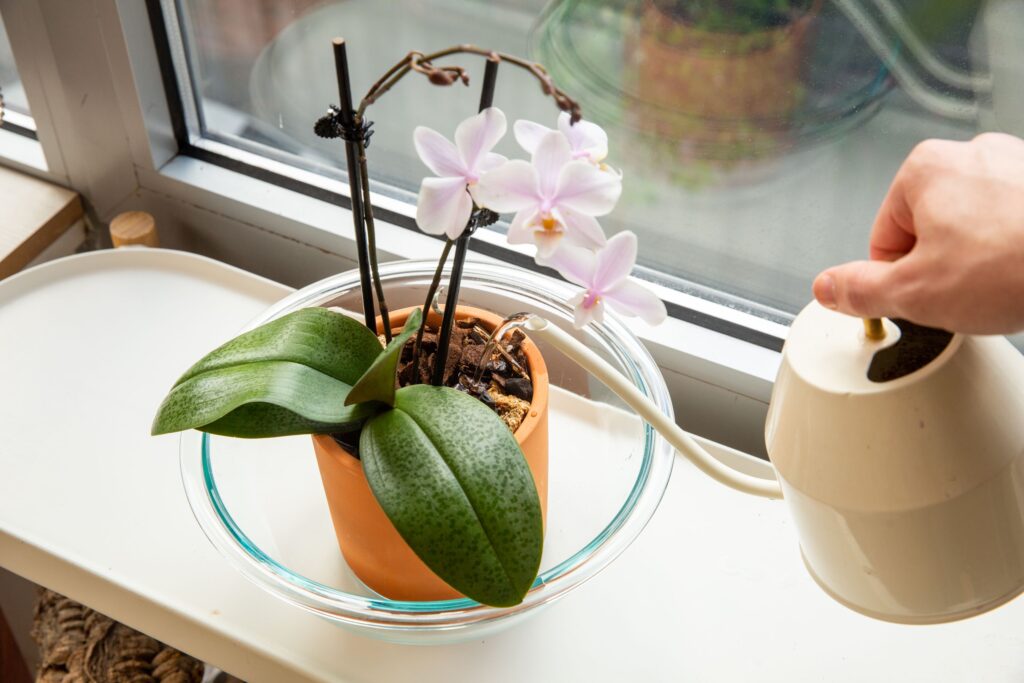
While orchids in water don’t need daily watering, it’s crucial to keep an eye on the water level. Ensure the orchid roots are always submerged in water, but not too deep. Change the water every week to keep it fresh and free from bacteria. If the water level drops, simply top it up with fresh water to maintain the right amount of moisture for the orchid roots.
Light and Temperature
Orchids need bright, indirect light to thrive. Place your water-grown orchid near a window with filtered sunlight, but avoid direct sunlight, which can burn the orchid leaves. Temperature-wise, they prefer a warm environment, ideally between 65°F and 75°F (18°C to 24°C). Avoid placing them in drafty areas or near cold windows to ensure they stay comfortable. If your orchid is a low light orchid variety, such as certain species of jewel orchids or slipper orchids, adjust the placement accordingly.
Fertilization
Orchids in water still need nutrients, so it’s important to fertilize them every few weeks. Use a diluted orchid fertilizer and add it to the water. Be careful not to over-fertilize, as this can cause build-up in the water and harm the orchid roots. A little goes a long way, so start with a smaller amount and adjust if needed. Fertilizing orchids with a balanced orchid fertilizer will also encourage healthy blooms.
Troubleshooting Common Issues with Water-Grown Orchids
Yellowing or Wilting Leaves
If you notice yellowing or wilting leaves, it could be a sign of overwatering or poor water quality. Ensure that the water is changed regularly, and the orchid roots are not submerged in too much water. If the leaves continue to wilt, check if the orchid is getting enough light and adjust its placement to provide more indirect sunlight. The orchid leaves should remain healthy and vibrant, and a lack of light or inadequate watering can lead to stress.
Root Rot
Root rot is a common issue in water-grown orchids, typically caused by stagnant water or excess moisture. If you notice the orchid roots turning brown or mushy, it’s important to remove the affected roots immediately and replace the water. Always make sure the water is changed weekly, and avoid leaving the orchid in the same water for too long. Proper care for orchid roots ensures they stay healthy and free from rot.
Lack of Blooms
If your orchid isn’t blooming, it could be due to insufficient light, improper temperature, or lack of nutrients. Ensure your orchid is getting enough bright, indirect light and maintain a consistent temperature. Additionally, a light dose of orchid fertilizer can encourage blooming, so don’t forget to feed your orchid every few weeks. Some orchid species, like the Cattleya orchids, require specific light conditions to bloom.
Transitioning Back to Soil or Potting Mix
When to Transition
While orchids can thrive in water, there may come a time when you want to switch your plant back to soil or potting mix. If you notice slower growth, poor root development, or a lack of blooms, it could be a sign that the orchid would benefit from a more traditional growing medium. Additionally, if the water method is no longer effective or your orchid has outgrown its current setup, transitioning to soil may be the next step.
How to Transition Your Orchid
To transition your orchid from water to soil, carefully remove it from the water container, gently clean the roots, and inspect them for any signs of damage or rot. Trim any unhealthy roots before moving the orchid to a pot with a well-draining orchid potting mix. Be sure to choose a pot with drainage holes to avoid excess water buildup. After transplanting, water the orchid lightly and place it in a location with bright, indirect light. Gradually reduce the amount of water you provide to allow the orchid to adjust to its new growing environment.
Transitioning back to soil may require some patience, but with the right care, your orchid will adapt and continue to thrive in its new setup.
Conclusion
Growing orchids in water is a simple, beautiful, and effective way to care for these stunning plants. By mimicking their natural environment, you provide your orchids with the moisture and humidity they need to thrive without the mess of soil. With the right container, water quality, and attention to their needs, orchids can grow and bloom beautifully in water for a long time.
Remember to choose the right orchid species, maintain a clean, fresh water environment, and provide proper light and temperature conditions. As your orchid continues to grow, don’t forget to monitor its orchid roots and overall health. And if the time comes to transition back to soil or potting mix, just follow a few simple steps to keep your orchid healthy and happy.
Whether you’re an experienced plant lover or new to growing orchids, this water-growing technique will add a touch of elegance to your home and bring joy each time the blooms appear!


