Contents
Introduction
Have you ever wanted to add a splash of green to your indoor space but felt like your options were limited? Enter the world of indoor plant hanging planters! These clever and stylish solutions not only bring a touch of nature into your home but also make the most out of your vertical space. Whether you’re a seasoned plant enthusiast or just starting your green journey, crafting your own hanging planters can be a fun and rewarding project.
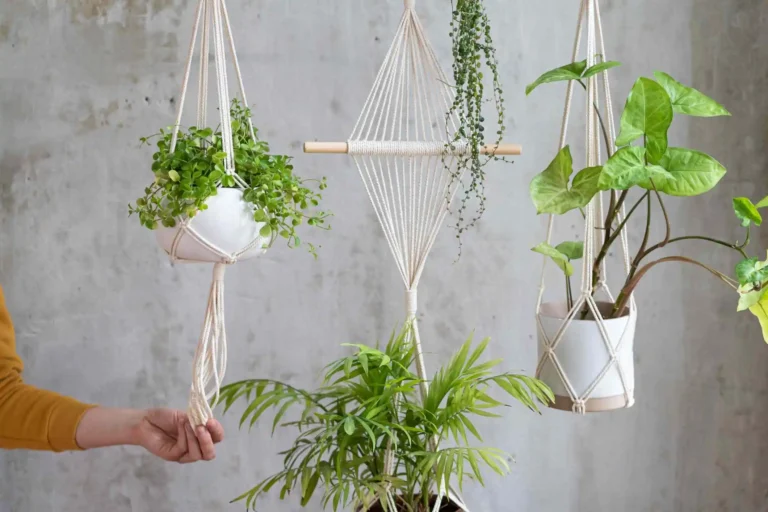
So, what’s all the fuss about hanging planters? Simply put, they’re plant containers that dangle from the ceiling or walls, rather than sitting on the floor or shelves. This innovative design helps you save space, create a lush indoor jungle, and add a unique decorative element to your home. Imagine trailing vines cascading down from a ceiling hook or a row of colorful planters adding vibrancy to an empty wall—pretty exciting, right?
In this guide, we’ll walk you through everything you need to know to craft your own indoor plant hanging planters. From choosing the right plants and materials to the nitty-gritty of assembly and installation, we’ve got you covered. You don’t need to be a DIY pro or have a toolbox full of fancy gadgets. All you need is a bit of creativity and a willingness to get your hands a little dirty.
We’ll start with the basics—what you’ll need to get started and how to pick the best plants for your space. Then, we’ll dive into the fun part: designing and making your hanging planters. You’ll learn how to prepare your planters, create hanging mechanisms, and safely install them in your home. Plus, we’ll share some tips on keeping your plants happy and healthy.
So, grab your favorite plant, put on your crafting gloves, and let’s turn your indoor space into a verdant paradise with some homemade hanging planters!
Materials and Tools
Ready to dive into crafting your very own indoor plant hanging planters? Great! Let’s start by gathering everything you’ll need. Don’t worry if you’re new to this—getting the right materials and tools is easier than you think, and we’ll break it down step-by-step.

Basic Materials
First things first, let’s talk about the materials for your planters. You’ll need to choose a type of planter that suits both your style and the needs of your plants. Here are some options:
- Ceramic Pots: These are classic and come in all sorts of colors and designs. They’re perfect if you want something sturdy and decorative.
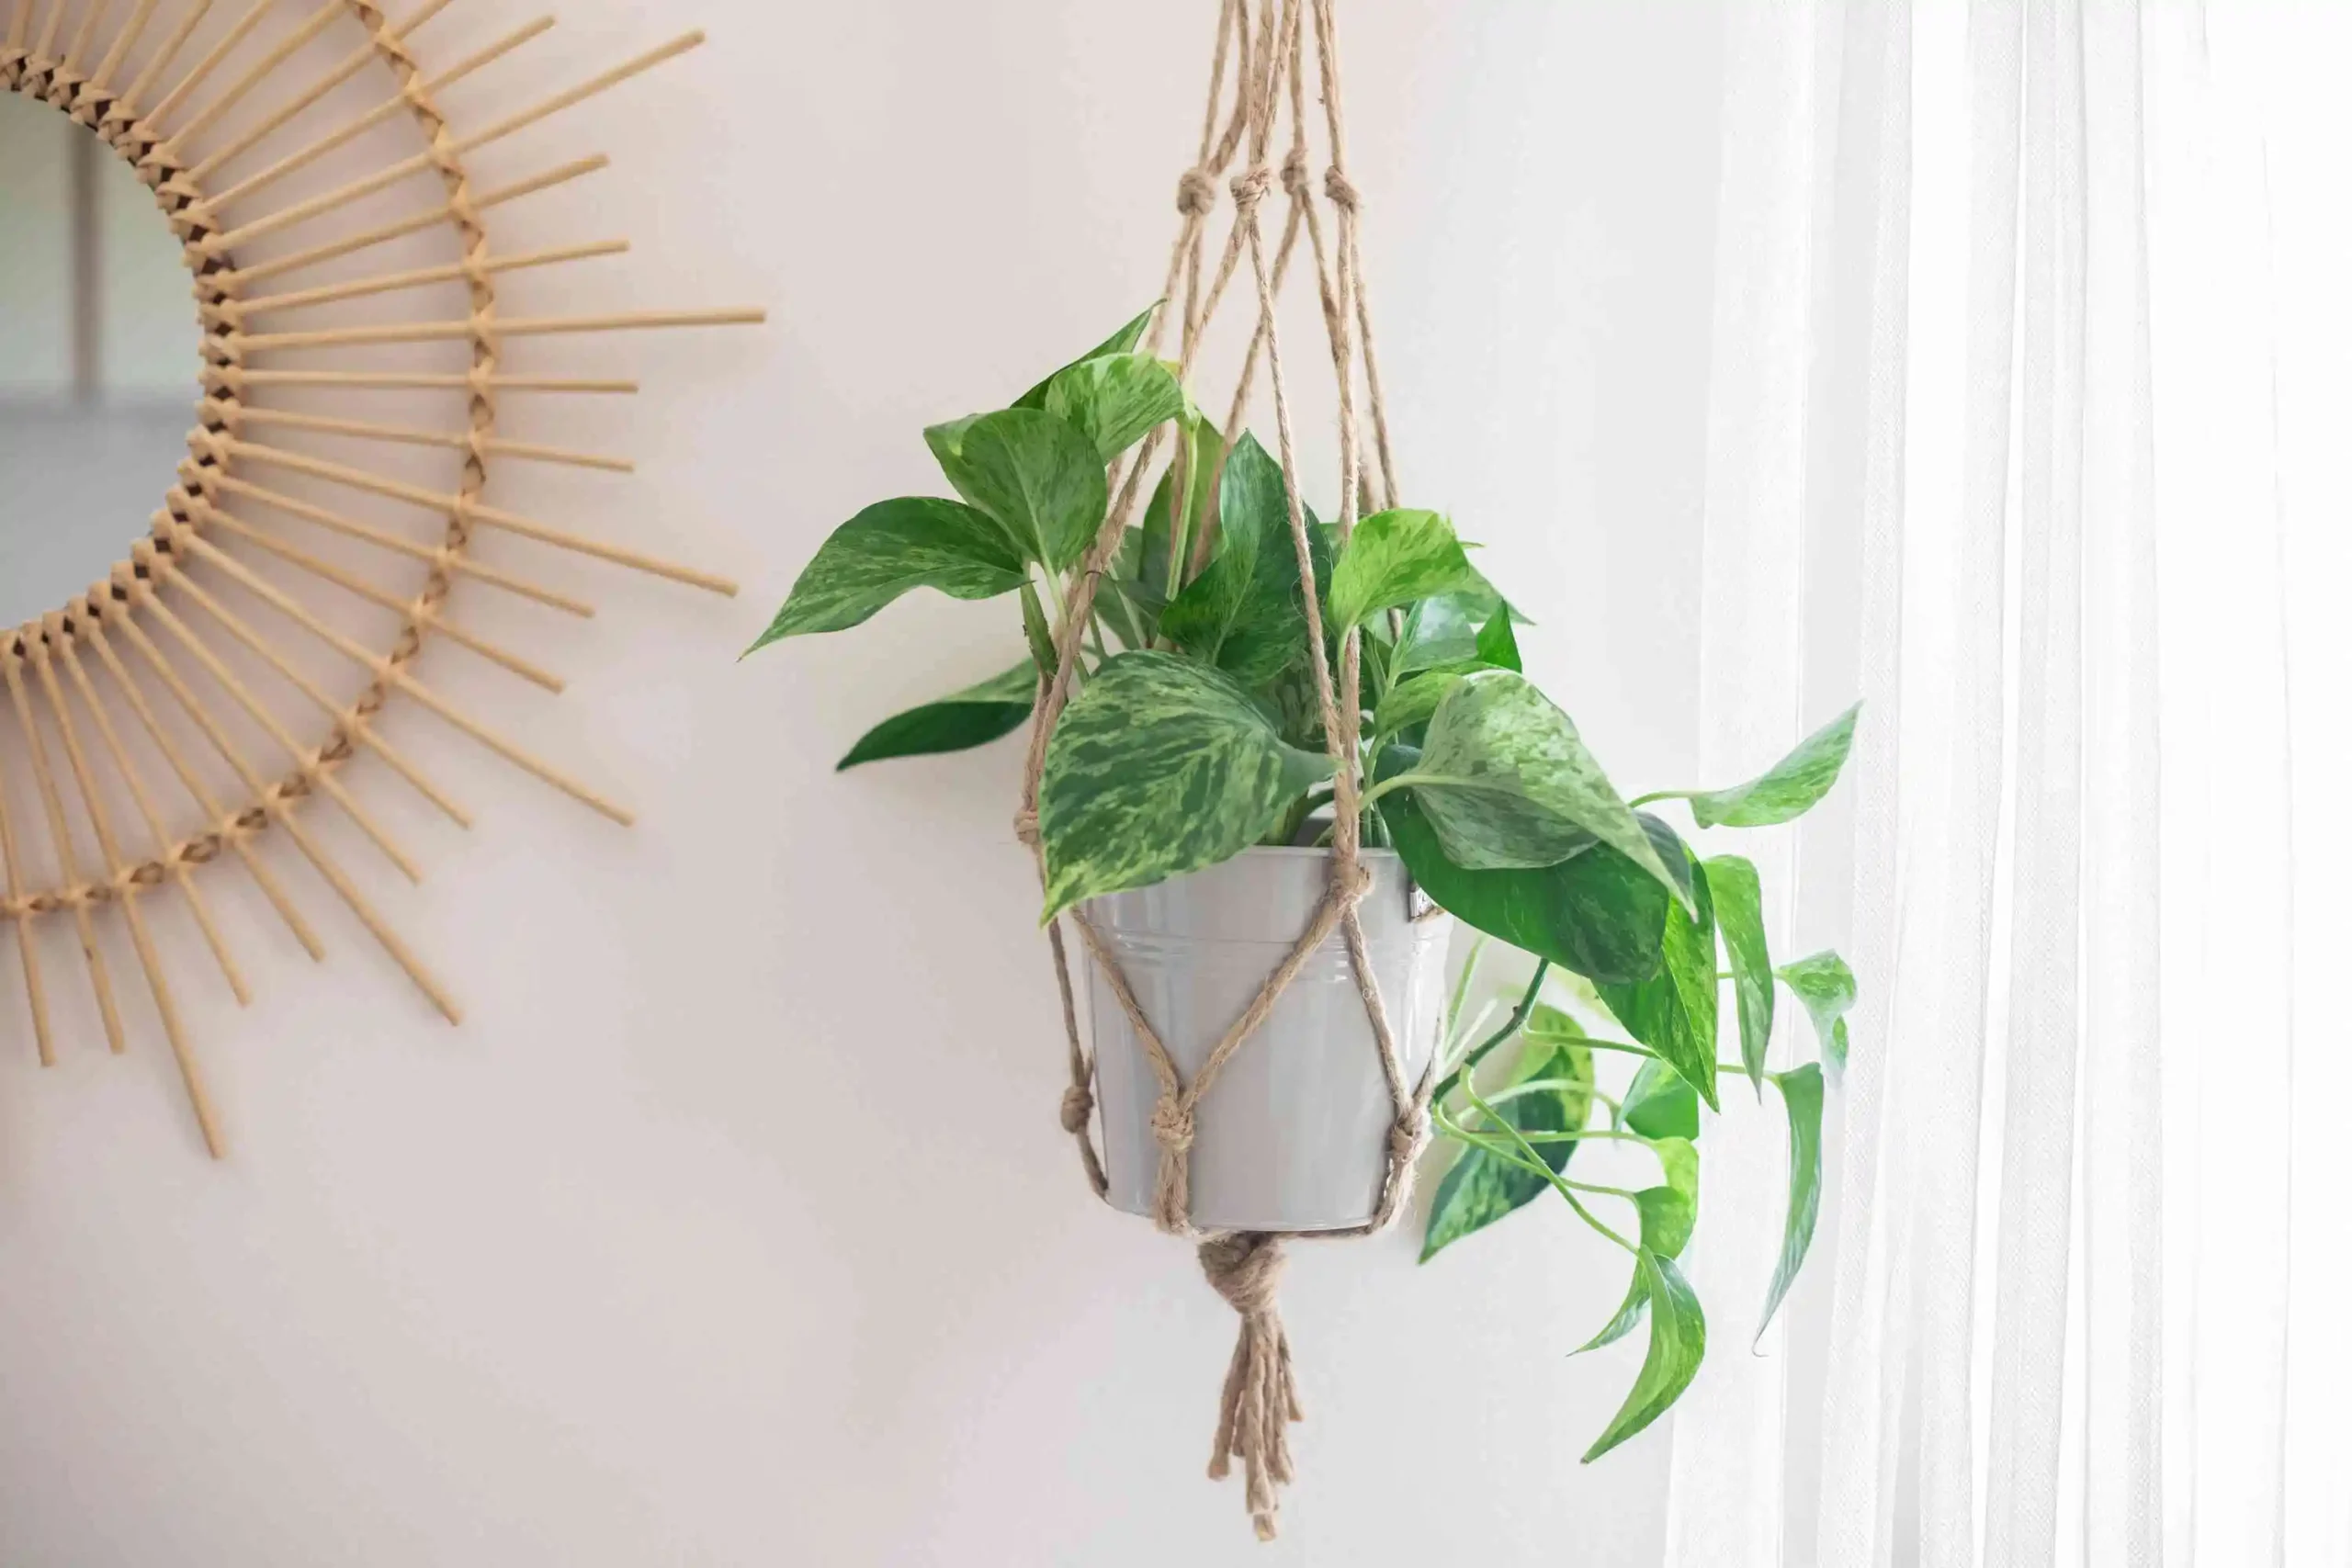
- Macramé Plant Hangers: If you’re feeling a bit adventurous, try making a macramé hanger. They’re great for a boho-chic look and are super customizable.
- Plastic Containers: Lightweight and inexpensive, plastic containers are a practical choice, especially if you’re just starting out or have heavier plants.
Along with the planter itself, you’ll need some plant-friendly materials. These include:
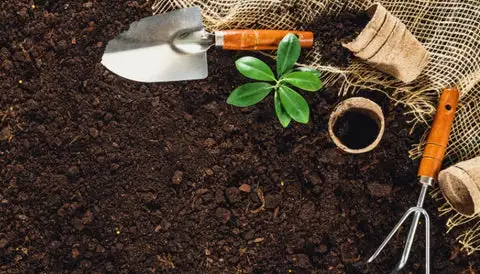
- Potting Soil: A good mix will ensure your plant gets the nutrients it needs. Look for a blend that’s designed for indoor plants.
- Gravel or Pebbles: These are used at the bottom of the planter to help with drainage. This keeps excess water from sitting in the bottom and potentially harming your plant’s roots.
Tools Needed
Now, let’s talk tools. Don’t stress—most of these are common household items, and we’ll keep it simple:
- Scissors or Shears: You’ll need these for cutting strings or trimming plants.
- Drill: If you’re making your own planters with drainage holes or need to mount hooks, a drill comes in handy. You don’t need a heavy-duty one—just a basic model will do.
- Measuring Tape: Accurate measurements are key to making sure your planters hang at just the right height and fit your space perfectly.
- Hooks or Mounts: These are essential for hanging your planters. You can choose from ceiling hooks, wall brackets, or even adhesive hooks, depending on where you want to hang them.
And don’t forget about safety! While crafting and installing, it’s a good idea to have some basic safety gear like gloves and protective eyewear. They’re not just for pros—they’ll keep you safe and make the whole process a bit more comfortable.
With these materials and tools in hand, you’re ready to start creating your custom hanging planters. It’s all about getting creative and having fun, so don’t be afraid to experiment and make each planter uniquely yours!
Design Considerations
Before you jump into crafting your indoor plant hanging planters, it’s a good idea to think about a few key design considerations. This will ensure your planters not only look great but also meet the needs of your plants and your space. Let’s break it down so you can make the best choices for your project.

Choosing the Right Plant
The first step in designing your hanging planters is picking the perfect plant. Not all plants are created equal when it comes to hanging planters, so here’s what you need to think about:
- Light Requirements: Different plants need different amounts of light. Some thrive in bright, indirect light, while others prefer low-light conditions. Make sure you choose plants that will do well in the spot you plan to hang your planter.
- Growth Habits: Consider how the plant grows. Trailing plants like pothos or ivy are ideal for hanging planters because their vines will cascade beautifully. On the other hand, upright plants might not work as well unless they’re in a larger hanging basket.
Planter Size and Style
Once you’ve picked your plant, it’s time to think about the size and style of your planter. Here’s what to consider:
- Matching Size to Plant: Your planter should be large enough to accommodate the plant’s roots but not so big that it looks out of place. A general rule is to choose a planter that’s about 1-2 inches larger in diameter than the plant’s root ball.
- Style Choices: From boho macramé to sleek modern designs, there are tons of styles to choose from. Think about your home decor and choose a style that complements it. If you’re going for a cozy, rustic look, a woven basket might be perfect. For a contemporary vibe, consider a geometric ceramic pot.
Hanging Mechanisms
Now, let’s talk about how you’ll actually hang your planters. There are several options, so pick what works best for your space and style:
- Hooks: Simple and effective, hooks can be screwed into the ceiling or wall to hold your planters. Make sure to use the right type for the weight of your planter and plant.
- Ceiling Mounts: If you’re hanging multiple planters or want them at different heights, ceiling mounts are a great choice. They come in various styles and can add a stylish touch to your space.
- Wall Brackets: Perfect for small spaces or if you want to create a vertical garden. Wall brackets can hold several planters at once and are great for displaying a collection of plants.
When choosing your hanging mechanism, think about the weight of your planters and how securely they’ll be attached. It’s important that everything is stable and safe to avoid any accidents or damage.
By considering these design elements, you’ll be well on your way to creating beautiful and functional hanging planters that fit perfectly into your home. Have fun with the process and let your creativity shine!
Step-by-Step Crafting Instructions
Now that you’ve got your materials, tools, and design all figured out, it’s time to roll up your sleeves and start crafting your indoor plant hanging planters. Don’t worry if you’re new to this—these steps are easy to follow and will guide you through the process from start to finish. Let’s get started!
Planning and Design
Before diving into crafting, it’s crucial to plan out your design. This will help you visualize the end result and make the building process smoother.
- Sketch Your Design: Grab a pencil and paper, and sketch out your idea. This doesn’t need to be a masterpiece—just a simple drawing to help you see how your planter will look. Think about dimensions, how many planters you want, and where they’ll be hung. If you’re not sure about sizes, just measure the space where you plan to hang them and use those measurements for your design.
- Selecting Materials: Based on your design, choose the materials that will best fit your plan. For instance, if you’re making a macramé hanger, pick out the type of cord or rope you want to use. If you’re using a ceramic pot, make sure it has the right size and drainage holes. Gather all the materials before starting to ensure you have everything you need at hand.
Preparing the Planter
With your design in mind, it’s time to get your planter ready for use. This step ensures that your planter is suited for hanging and will be functional for your plants.
- Potting the Plant: If your planter doesn’t already have drainage holes, you’ll need to add some. This is crucial to prevent water from pooling at the bottom and causing root rot. Use a drill to carefully make holes if needed. Next, fill the bottom of the planter with a layer of gravel or pebbles to help with drainage before adding potting soil.
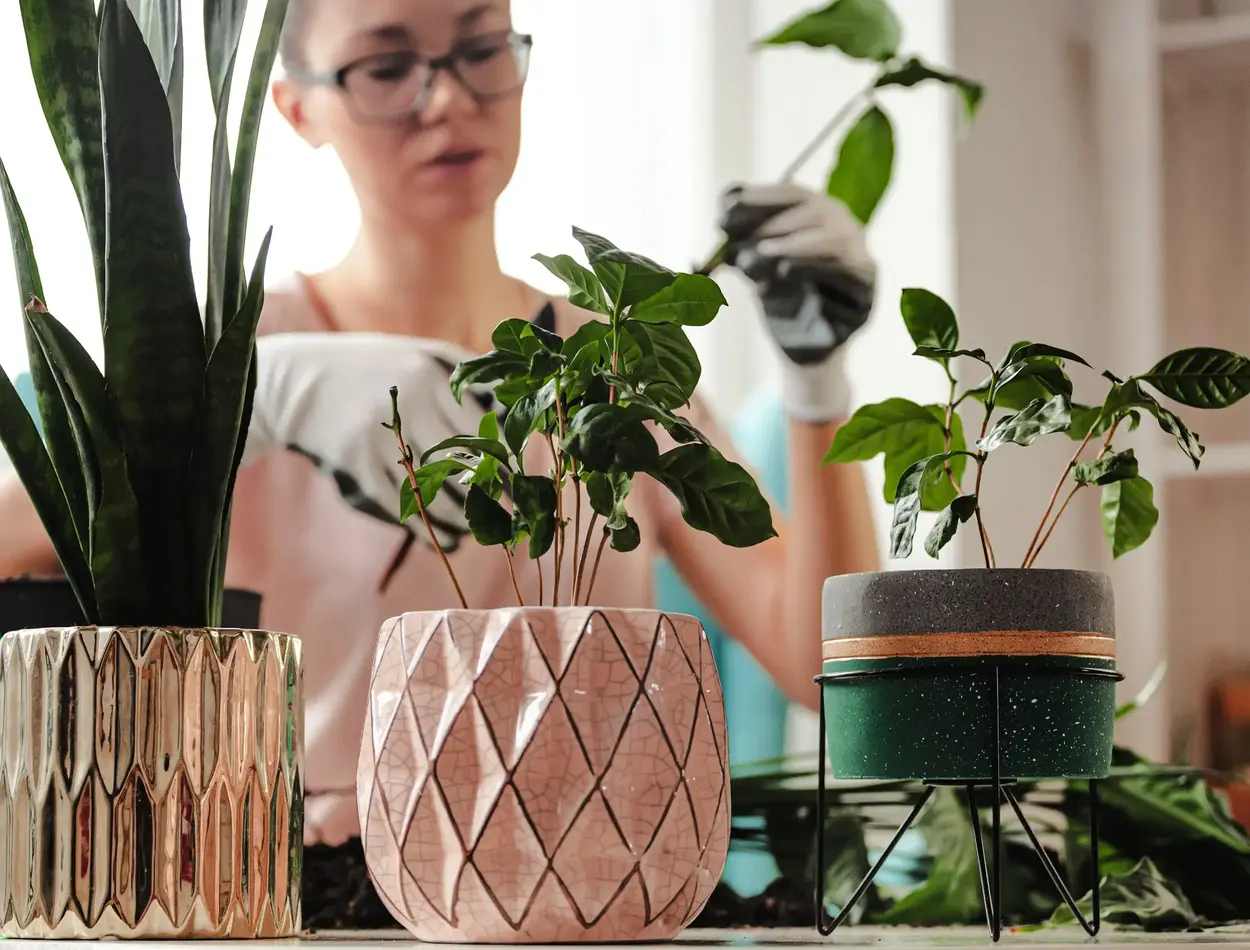
- Adding Soil and Plants: Carefully place your plant into the planter. Make sure the plant’s roots are spread out and covered with potting soil. Gently pat the soil down to eliminate air pockets, but don’t pack it too tightly. Water the plant lightly to settle the soil, and ensure the plant is firmly in place.
Creating the Hanging Mechanism
Now for the fun part—creating the mechanism that will hold your planter. This is where your planters will start to come to life!
- Building a Macramé Hanger: If you’re opting for a macramé hanger, start by cutting lengths of cord. There are various knots and techniques you can use, but the basic knots include square knots and lark’s head knots. Follow a simple macramé tutorial to create a stylish and functional hanger. Make sure it’s long enough to accommodate the height where you plan to hang it.
- Using a Hanging Basket: For a pre-made hanging basket, assemble it according to the manufacturer’s instructions. If you want to customize it, you can paint or decorate it to match your decor. Make sure the basket is securely attached to the hanging mechanism you’ll use.
Assembling and Installing
With your planter and hanging mechanism ready, it’s time to put everything together and install it in your chosen spot.
- Attaching the Planter to the Hanging Mechanism: Securely attach your planter to the hanging mechanism. If you’re using a macramé hanger, thread the planter into the cords and adjust the knots to hold it in place. For hanging baskets, make sure they’re properly attached to the hooks or mounts.
- Mounting the Planter Indoors: Choose the ideal spot for your planter. If you’re using ceiling hooks or wall brackets, measure and mark the location before drilling or mounting. Ensure everything is level and securely fastened. For ceiling installations, use anchors if needed to support the weight.
And there you have it! With these steps, you’re ready to enjoy your new indoor hanging planters. It’s a fun and creative project that adds a personal touch to your space, and the best part is watching your plants thrive in their new homes. Happy crafting!
Care and Maintenance
Congratulations on your new indoor plant hanging planters! Now that you’ve crafted and installed them, it’s important to keep your plants and planters in top shape. Proper care and maintenance will help ensure your plants stay healthy and your planters look great. Here’s a straightforward guide to keeping everything in tip-top condition.

Watering and Fertilizing
Proper watering and fertilizing are crucial for the health of your plants. Here’s how to get it right:
- Guidelines for Watering: Hanging planters can sometimes be tricky because they’re higher up and may not be as easy to access. To make watering simpler, you might want to use a long-handled watering can or a watering wand. Check the soil regularly—stick your finger about an inch into the soil. If it feels dry, it’s time to water. Be sure to water until it drains out of the bottom to ensure the roots get enough moisture.
- Recommended Fertilization Practices: Plants in hanging planters will benefit from regular feeding. Use a balanced, water-soluble fertilizer every 4-6 weeks during the growing season (spring and summer). Follow the instructions on the fertilizer package for the right amount to use. Over-fertilizing can harm your plants, so it’s better to use a little less than too much.
Cleaning and Upkeep
Keeping your planters and plants clean will help prevent issues and keep them looking fresh.
- How to Clean the Planter and Surrounding Area: Dust and dirt can accumulate on both the planters and the area around them. Gently wipe down the outside of the planter with a damp cloth. For planters with more intricate designs, like macramé hangers, use a soft brush to remove any dust. Regularly check the area around your planters and clean up any fallen leaves or debris to keep everything looking tidy.
- Addressing Common Issues: Indoor plants can sometimes encounter problems like pests or mold. If you notice any pests, like spider mites or aphids, treat them with an appropriate insecticidal soap or natural remedies like neem oil. For mold, ensure the area is well-ventilated and reduce humidity if needed. If the mold is on the soil surface, gently remove the top layer and replace it with fresh soil.
By following these simple care and maintenance tips, you’ll help ensure your indoor plant hanging planters thrive and continue to enhance your living space. It’s all about staying attentive to your plants’ needs and making sure your planters remain clean and functional. Enjoy the beauty and freshness your hanging planters bring to your home!
Tips and Tricks
With your indoor plant hanging planters crafted and installed, it’s time to add some extra flair and ensure they remain in great shape. Here are some handy tips and tricks to help you personalize your planters and troubleshoot any issues that might come up.
Personalizing Your Planters
Adding a personal touch to your hanging planters can really make them stand out and reflect your style. Here’s how to get creative:
- Adding Decorative Elements: Don’t be afraid to get creative with decorations! You can paint your planters to match your room decor or add decorative beads and charms to your macramé hangers. For a rustic look, consider wrapping the planter in burlap or jute. If you’re into DIY projects, you can even make your own plant pot covers from fabric or yarn to give your planters a unique look.
- Customizing the Design: If you want to make your hanging planters truly one-of-a-kind, think about incorporating unique design elements. Use stencils to create patterns on ceramic pots or attach small mirrors to add a touch of sparkle. You could also use colorful cords or ropes for macramé hangers to match your home’s color scheme. The possibilities are endless!
Troubleshooting Common Problems
Even with the best care, you might run into a few issues with your hanging planters. Here’s how to tackle some common problems:
- Solutions for Plant Health Issues: If your plants aren’t thriving, check for signs of common issues like yellowing leaves or stunted growth. These can be caused by overwatering, underwatering, or insufficient light. Adjust your watering schedule, make sure your plants are getting the right amount of light, and check for pests or diseases. Sometimes, simply moving the plant to a brighter spot or adjusting the watering routine can make a big difference.
- Fixes for Common Hanging Planter Problems: If your planter feels unstable or isn’t hanging correctly, double-check the installation. Ensure that hooks or mounts are securely fastened and can support the weight of the planter. If your macramé hanger is uneven, adjust the knots to balance it out. For planters that are getting too heavy, consider using larger hooks or additional support.
By incorporating these tips and troubleshooting advice, you’ll not only enhance the look of your indoor hanging planters but also keep them functioning well and your plants happy. Enjoy experimenting with different designs and solutions, and keep an eye on your planters to ensure they continue to bring beauty and greenery into your space!
Conclusion
You’ve put in the effort to craft and install your indoor plant hanging planters, and now it’s time to step back and enjoy the fruits of your labor. Let’s recap the key points and give you a bit of encouragement to keep exploring and creating.
Summary of Key Points
- Crafting Your Planters: We started with selecting the right materials and tools, then moved on to designing and making your planters. Whether you went for a macramé hanger or a sleek ceramic pot, you’ve learned how to prepare, assemble, and hang your planters with confidence.
- Caring for Your Plants: Regular watering, fertilizing, and cleaning are essential to keeping your plants healthy and your planters looking great. Keeping an eye out for common issues and addressing them promptly will ensure your indoor garden flourishes.
- Adding Personal Touches: Personalizing your planters with decorations and creative designs adds a unique flair to your home. Don’t be afraid to experiment and make each planter a reflection of your style.
Encouragement to Get Creative
Remember, the world of indoor plant hanging planters is all about creativity and personal expression. Don’t hesitate to try new designs, experiment with different plants, and add your own unique touches. The more you play around with ideas, the more you’ll discover what works best for your space and style.
Resources for Further Learning
If you’re eager to dive deeper into the world of indoor gardening and crafting, there are plenty of resources available to keep you inspired:
- Books: Look for books on indoor gardening and DIY projects for more ideas and detailed instructions.
- Websites: There are many gardening and craft websites with tutorials, tips, and community forums where you can ask questions and share your projects.
- Videos: Platforms like YouTube offer countless videos on plant care, DIY planter projects, and creative decorating ideas.
You’ve taken a fantastic step towards enhancing your home with beautiful indoor plant hanging planters. Enjoy the process, and let your creativity flourish as you continue to craft and care for your green oasis. Happy planting and crafting!


