Contents
- 1 Introduction: Understanding Chickpeas and Their Importance
- 2 Choosing the Right Chickpea Variety
- 3 Picking the Best Variety for Your Climate
- 4 Preparing the Soil for Chickpea Planting
- 5 When to Plant Chickpeas
- 6 Planting Your Chickpeas
- 7 Watering Your Chickpeas
- 8 Maintaining Your Chickpea Plants
- 9 Harvesting Your Chickpeas
- 10 Troubleshooting Common Chickpea Problems
- 11 Conclusion
Introduction: Understanding Chickpeas and Their Importance
Chickpeas, also known as garbanzo beans, are one of the most versatile and nutritious legumes on the planet. Whether you love them roasted as a snack, blended into creamy hummus, or tossed into soups and salads, chickpeas have become a staple in kitchens worldwide. But did you know you can easily grow chickpeas yourself? That’s right—growing chickpeas at home is not only possible, but it also comes with a wide range of benefits.
For starters, chickpeas are packed with protein, fiber, and essential vitamins and minerals, making them a great addition to any diet. They’re especially popular in plant-based meals, as they provide an excellent source of plant protein. And beyond their nutritional value, growing chickpeas is incredibly easy, making them perfect for beginners or seasoned gardeners alike. With a little bit of space, patience, and some basic gardening know-how, you can harvest chickpeas from your very own chickpea plants.
But growing chickpeas isn’t just about adding more food to your plate. These little beans are also great for the environment. Chickpeas are drought-tolerant, meaning they don’t need a ton of water to thrive, which is a huge plus if you’re living in an area with limited water resources. Plus, they’re a legume, which means they naturally enrich the soil with nitrogen, helping to improve the health of your garden for future crops.
In this guide, we’ll walk you through everything you need to know about growing chickpeas—from choosing the right variety to harvesting your crop. Whether you’re planting chickpeas in a small garden or looking to grow chickpeas on a larger scale, we’ve got you covered with all the tips and tricks to ensure a successful harvest. So, let’s dive in and learn how to grow chickpeas from the ground up!

Choosing the Right Chickpea Variety
When you’re starting to grow chickpeas, one of the first choices you’ll need to make is which variety to plant. Chickpeas come in two main types: Desi and Kabuli. Let’s break down the differences!
Desi Chickpeas
Desi chickpeas are smaller, darker, and more drought-tolerant. They’re perfect if you live in a hot, dry climate, as they can handle heat and require less water. These are often used in traditional dishes like curries and stews.
Kabuli Chickpeas
Kabuli chickpeas are larger, lighter in color, and have a smoother texture. They’re ideal for dishes like hummus and salads. Kabuli chickpeas need more moisture and cooler temperatures, so they’re better suited to moderate climates with regular rainfall.
Picking the Best Variety for Your Climate
For Hot, Dry Climates
If you’re dealing with heat and limited water, go for Desi chickpeas. They’re drought-resistant and thrive in tough conditions.
For Cooler, Temperate Climates
If you live in a region with moderate temperatures, Kabuli chickpeas are a great option. They need more consistent moisture and are more sensitive to extreme heat.
Preparing the Soil for Chickpea Planting
Getting your soil ready for chickpeas is crucial for a successful harvest. Chickpeas thrive in well-drained soil that’s not too rich but still provides the nutrients they need. Here’s how to get your soil just right.
Soil Requirements
Chickpeas prefer slightly acidic to neutral soil with a pH between 6 and 8. Well-drained, loamy soil is ideal, as it prevents waterlogging, which can harm the roots. The soil should also be rich in organic matter, as it will provide essential nutrients for the chickpea plant.
Improving Soil Fertility
Chickpeas are known for their ability to fix nitrogen in the soil, which helps improve its fertility. Before planting chickpeas, mix in compost or organic matter to enrich the soil. This will give your chickpeas the best start.
Testing Soil pH
It’s a good idea to test your soil’s pH using a soil test kit. If your soil is too acidic, you can add lime to raise the pH, ensuring it’s in the ideal range for chickpeas.
When to Plant Chickpeas
Timing is key when it comes to planting chickpeas. Planting them at the right time ensures they have the best chance to grow strong and healthy.
Ideal Planting Time
Chickpeas need warm temperatures to grow. The best time to plant chickpeas is after the last frost of the season when the soil temperature reaches around 60°F (15°C). This typically falls in early spring in most regions.

Considerations for Different Climates
If you live in a hot, dry area, you can plant chickpeas earlier to take advantage of the warmer temperatures. In cooler climates, wait until the risk of frost has passed to ensure your chickpeas grow without being damaged by cold weather.
Planting Your Chickpeas
Now that your soil is prepped and you’ve chosen the right time to plant chickpeas, it’s time to get your chickpeas in the ground! This step is simple and straightforward, but there are a few things to keep in mind.
Planting Depth
Chickpeas should be planted about 1 to 2 inches deep (2.5 to 5 cm). Planting them too deep can prevent proper growth, while too shallow can expose the seeds to drying out.
Spacing Between Plants
For optimal growth, space your chickpea seeds about 3 to 4 inches apart (7.5 to 10 cm). This gives them enough room to spread out and ensures good air circulation, which helps prevent disease.
Row Spacing
Leave around 12 to 18 inches (30 to 45 cm) between rows to give your chickpea plants plenty of space to grow and thrive.
Watering Your Chickpeas
Proper watering is essential for healthy chickpea plants. While chickpeas are drought-tolerant, they still need some water to grow well. Here’s how to do it right.
Watering Frequency
Chickpeas need regular watering, especially during dry spells. Water deeply once a week to keep the soil consistently moist but not soggy. Avoid overwatering, as chickpeas don’t like standing water.
Watering During Key Stages
Watering is particularly important during the flowering and pod-setting stages. Providing enough moisture during these times helps ensure a good yield. However, reduce watering once the plants mature to avoid encouraging disease.

Maintaining Your Chickpea Plants
Keeping your chickpea plants healthy throughout their growth is important for a successful harvest. A little care goes a long way!
Weed Control
Weeds can compete with your chickpeas for water and nutrients. Keep the area around your plants free of weeds, especially during the early growth stages. Lightly hoe the soil or pull weeds by hand to avoid disturbing the roots.
Pest Management
Chickpeas can attract pests like aphids, beetles, and weevils. Keep an eye out for signs of damage and treat problems early. Natural remedies like neem oil or insecticidal soap can help manage pests without harming the plants.
Support for Plants
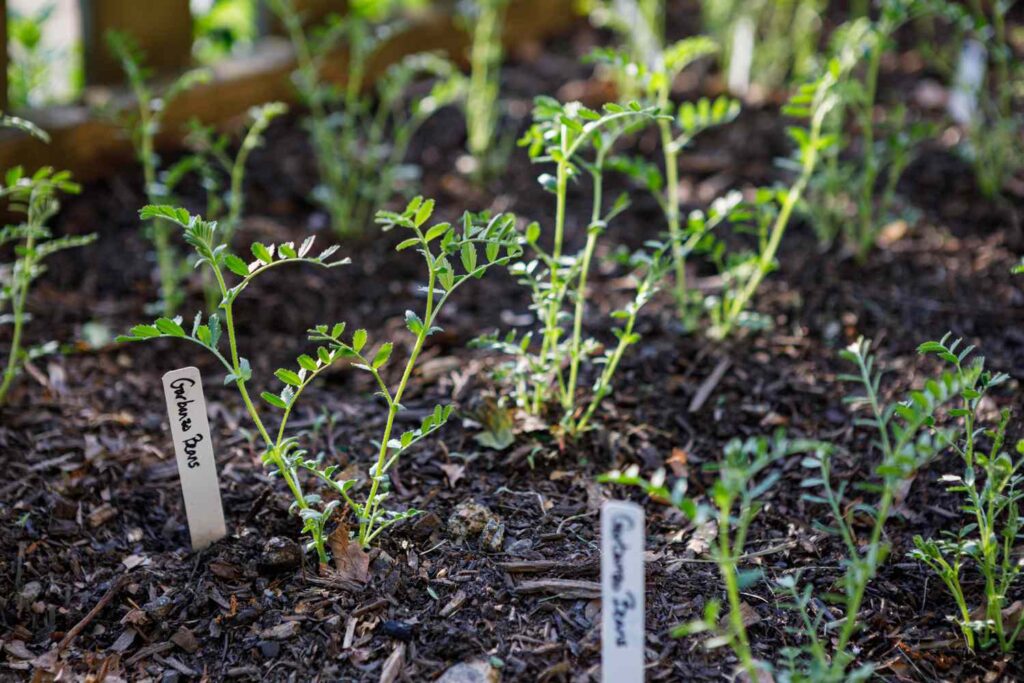
As your chickpea plants grow taller, they may need a little support. Use stakes or a trellis to keep the plants upright and prevent them from falling over, especially if you’re growing chickpeas indoors or growing tall varieties.
Harvesting Your Chickpeas
Once your chickpea plants are ready, it’s time to harvest chickpeas! Knowing when and how to harvest chickpeas ensures you get the best yield.
When to Harvest
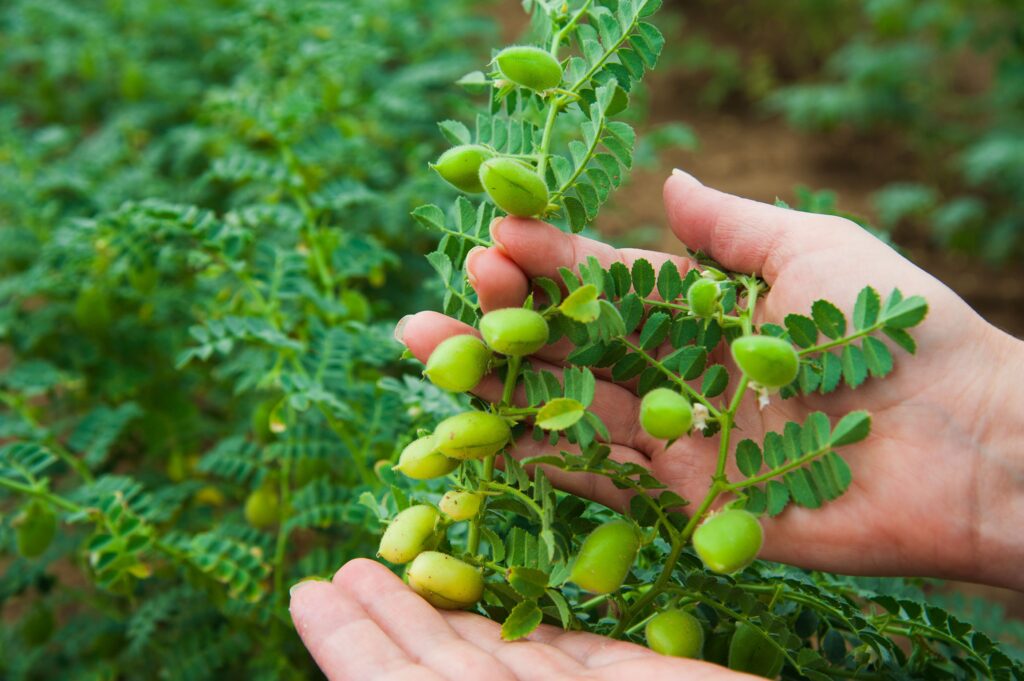
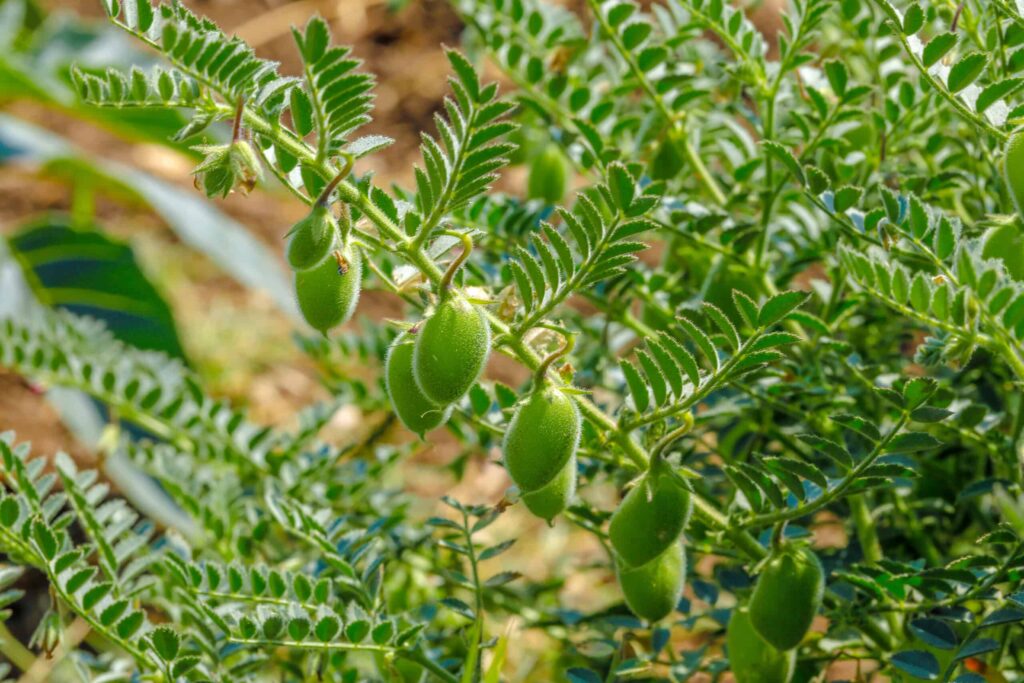
Chickpeas are ready to harvest when the pods turn yellow and start to dry out. The leaves may also begin to wither. Gently squeeze a pod—if the seeds inside rattle, it’s time to harvest.
How to Harvest
To harvest chickpeas, simply pull up the entire plant or cut it at the base. Shake the plants gently to release the chickpea pods. Be careful not to damage the seeds during this process.
Drying the Seeds
After harvesting chickpeas, spread the chickpea pods out in a dry area to fully dry them. This can take a few days. Once dried, you can open the pods and collect the seeds for storage.
Storing Your Chickpeas
Proper storage is key to keeping your harvested chickpeas fresh and ready for use. Here’s how to store them for the best results.
Drying Before Storage
Ensure your chickpeas are completely dry before storing. If they’re still moist, they can spoil or mold. Spread them out in a well-ventilated area until they’re fully dried.
Storing in Airtight Containers
Once dry, store your chickpeas in airtight containers to protect them from moisture and pests. Glass jars, vacuum-sealed bags, or Mylar bags with oxygen absorbers work well.
Ideal Storage Conditions
Store your containers in a cool, dry place away from direct sunlight. A pantry or cupboard with stable temperatures is ideal for keeping your chickpeas fresh for several months.

Troubleshooting Common Chickpea Problems
While chickpeas are fairly low-maintenance, they can face a few challenges along the way. Here’s how to tackle some common issues.
Yellowing Leaves
If your chickpea plants’ leaves turn yellow, it could be a sign of nitrogen deficiency. Adding organic compost or a balanced fertilizer can help restore nutrients.
Poor Pod Development
If your plants are flowering but not producing many pods, it might be due to a lack of water or high temperatures during the flowering phase. Ensure consistent watering and avoid planting chickpeas during the hottest part of the season.
Pests and Diseases
Common pests like aphids or fungal diseases like fusarium wilt can affect chickpeas. Use organic pest control methods like neem oil or remove infected plants to prevent the spread of disease.
Conclusion
Growing chickpeas in your own garden is a rewarding experience that offers numerous benefits. From providing a nutritious food source to improving soil health, chickpeas are a sustainable and low-maintenance crop ideal for various climates. By choosing the right variety, preparing your soil, and following proper planting and care techniques, you can enjoy a successful harvest. Whether you’re a beginner gardener or an experienced grower, chickpeas are a fantastic addition to your gardening routine. So, grab your chickpea seeds, get planting chickpeas, and enjoy the satisfaction of growing chickpeas!


